Setting up Social Tab
Setting up Social Tab
In order for you to start using Social tab, your CRM account must be configured with any or all of your organisation's Facebook Pages or your Twitter handles. The configuration can be performed only by a user with Social Administrator permission. Once configured, the administrator can choose the extent of access that each profile can have for the Social tab.
When you access the Social tab (without already having configured a social media account) you will see the Welcome screen, from which you can begin adding your social media accounts.
Once you configure any or all of these social media accounts (Facebook, Twitter), the Social tab will be updated with social media posts from your contacts.

- Only users with Social Administrator permission can configure social media accounts with the CRM.
- Non-administrator profile users who have access to the Social tab for their profile, but no permissions granted to them under the Social Settings will be able to see the Social tab but no data under it. They will be requested to contact their Administrator for the required permissions.
Availability
Create Brand in CRM
In your CRM account you can create multiple brands and add your company's social accounts like Twitter, Facebook to the brands. In this edition of the CRM the limit is set to 2 Brands. For creating additional brands it is - $5/brand/month or $50/brand/year.
- Below are the number of brands that you can create in CRM Plus and One Editions:
- CRM Plus Edition - 3 Brands
- One Edition - 5 Brands
- If you already have a paid Social account, then you will be able to import all the brands from Social to the CRM and also configure new brands from the CRM. However, this applies only if you have not used all the brands purchased from Social.
To create brands
- Go to Setup > Channel > Social.
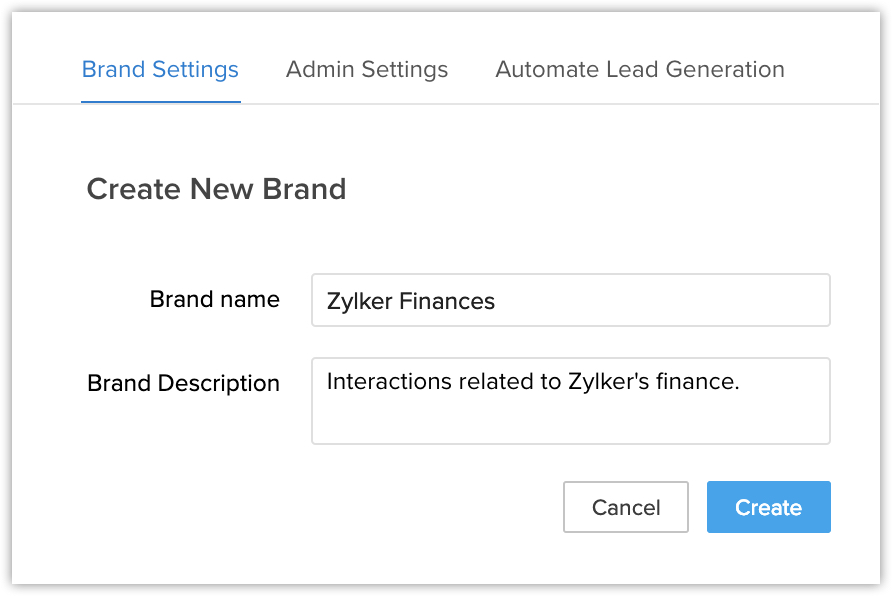
- Click Brand Settings > Create New Brand.
- Enter Brand Name and Brand Description.
- Click Create.
- Click Add Account, to configure channels into the Brand.

Add Facebook Page
With your Facebook company page associated to the CRM, you can perform the following set of actions from within CRM.
- Publish status updates
- View your posts as well as comments and likes that are made to your posts
- Like a post
- Make a comment on a post
- Receive and reply to messages on the page
To add a Facebook page
- Log in to the CRM as an Administrator/Social Admin.
- Go to Setup > Channels > Social.
Alternatively, if you are on the SocialTab, click the Settings icon. In the Social Settings page, select the Facebook tab. - Select a Brand and click Add Account.
Please make sure that the pop-up blocker is disabled in your browser. - In the Facebook popup, specify the login credentials for your company's Facebook account that you want to associate to the CRM.
- Click LogIn.
If you are already logged in to your Facebook account outside of the CRM, you will be informed that "You are already logged in as [user]". Click Continue in order to continue configuration as the logged in user. Or else click Change User to log in as a different user.
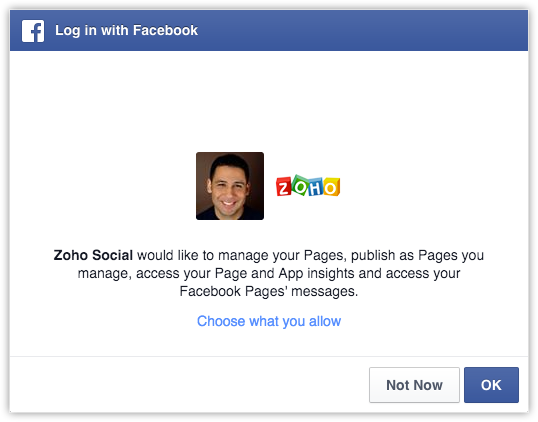
In order for the Facebook page to be added, you must authorise your Facebook account and grant permissions for Social to access information from your Facebook account. You can review and choose the set of actions to be performed as per your requirements. They are as shown in the screenshots below.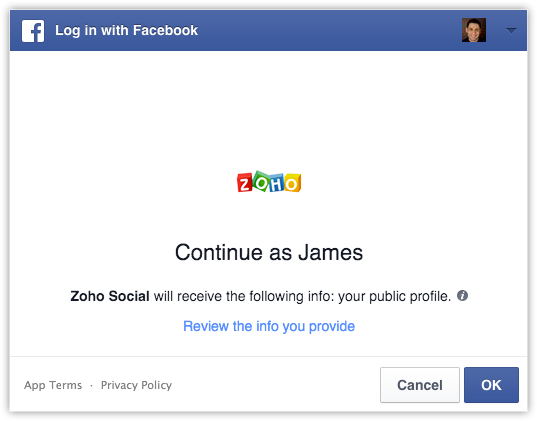
Your Facebook account is now integrated with the CRM. - Click AddPage.
Your organisation's Facebook pages will be listed.
Click Add for the corresponding page that you want to add.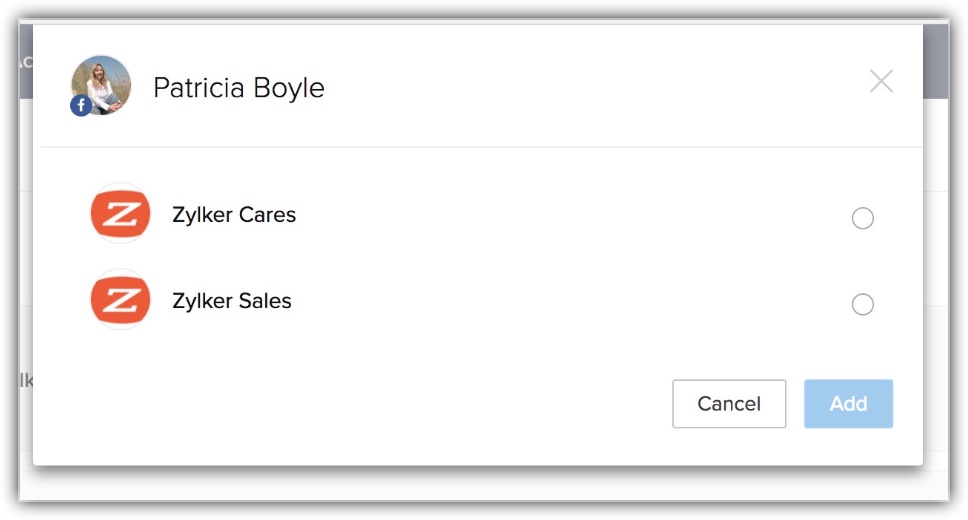
- Set permissions for Actions:
- Actions - You can define the set of actions that users under each profile are permitted to perform. For example, you may want certain users to post updates and comments but some others to just view updates. In such a case, you can restrict them from posting content on Facebook in the Actions section.
By default, the Administrator profile is granted all available permissions.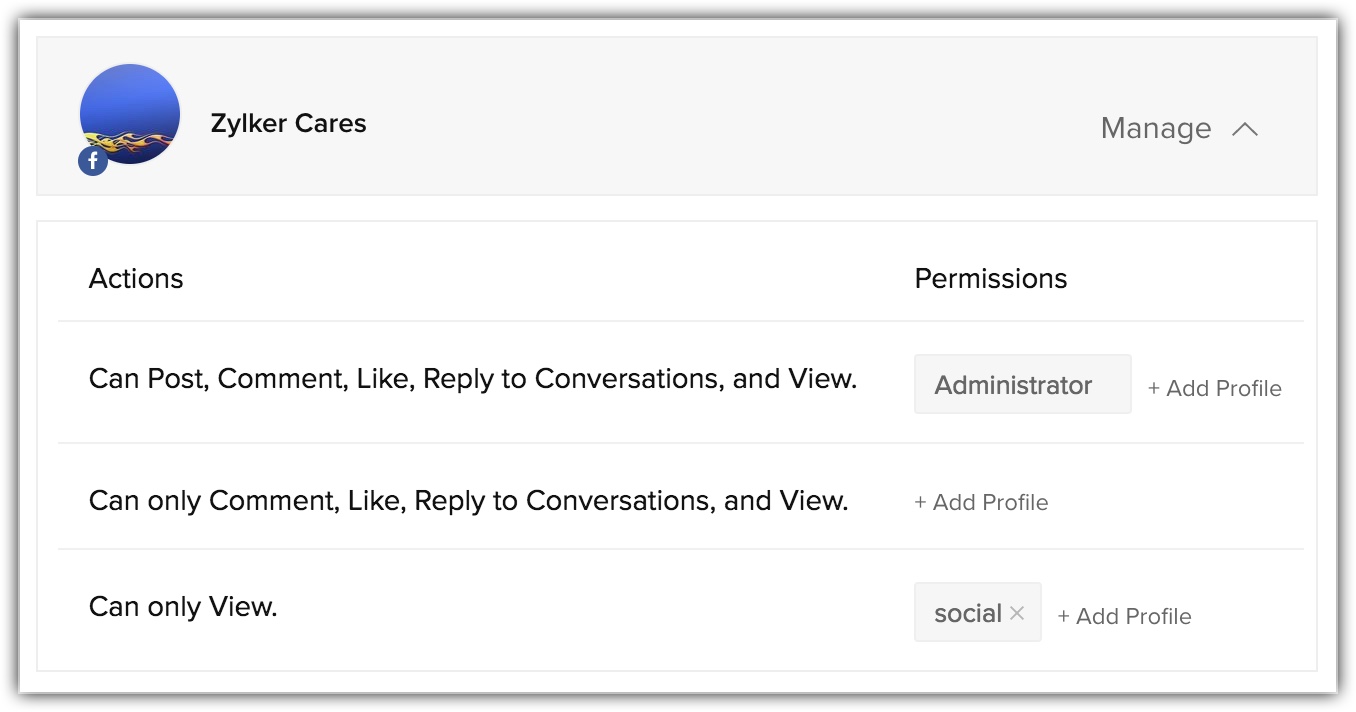
- Actions - You can define the set of actions that users under each profile are permitted to perform. For example, you may want certain users to post updates and comments but some others to just view updates. In such a case, you can restrict them from posting content on Facebook in the Actions section.
- For a Facebook account to be configured in the CRM, it needs to have Pages associated with it. Even if you attempt to configure a Facebook account without a Page associated with it, the account will be automatically deleted once you navigate away from Social Settings.
- If you close the Add Page popup without adding any pages after you configure your account, the account will be removed.
Add Twitter Handle
With your Twitter account associated to the CRM, you can perform the following set of actions from within CRM.
- Tweet and retweet
- Reply to tweets
- Mark tweets as favorite
- View your tweets, tweets mentioning your brand and their replies
- View the Twitter Timeline of Leads/Contacts
- Search Twitter for topics relevant to you
- View and respond to direct mentions (DMs)
To add a Twitter handle
- Log in to the CRM as an Administrator/Social Admin.
- Go to Setup > Channels > Social.
Alternatively, if you are on the SocialTab, click the Settings icon. In the Social Settings page, select the Twitter tab. - Select a Brand and click Add Account.
Please make sure that the pop-up blocker is disabled in your browser. - In the Twitter popup, specify the login credentials for your company's Twitter account that you want to associate to the CRM.
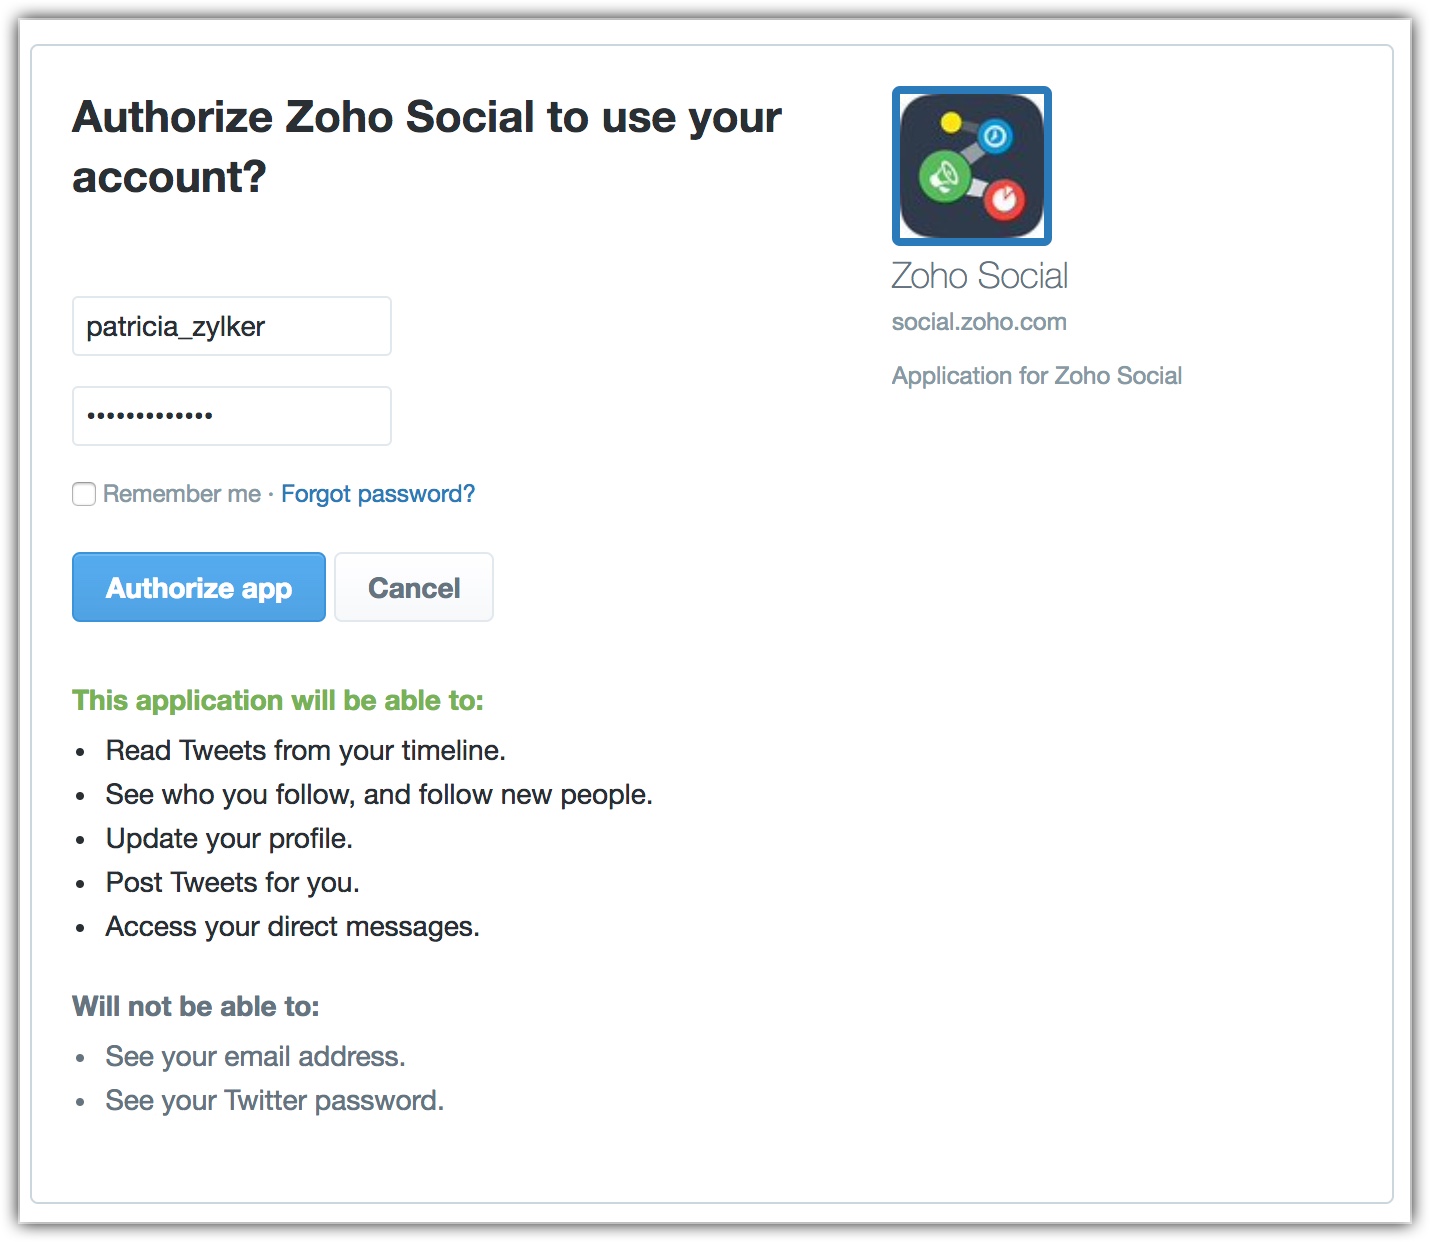
- Click Authorise app.
Once the account is authorised, you will be redirected back to the CRM.
- Set permissions for Actions:
- Actions - This permission defines the actions that can be performed by users in each profile.
By default, Administrator can perform all available actions.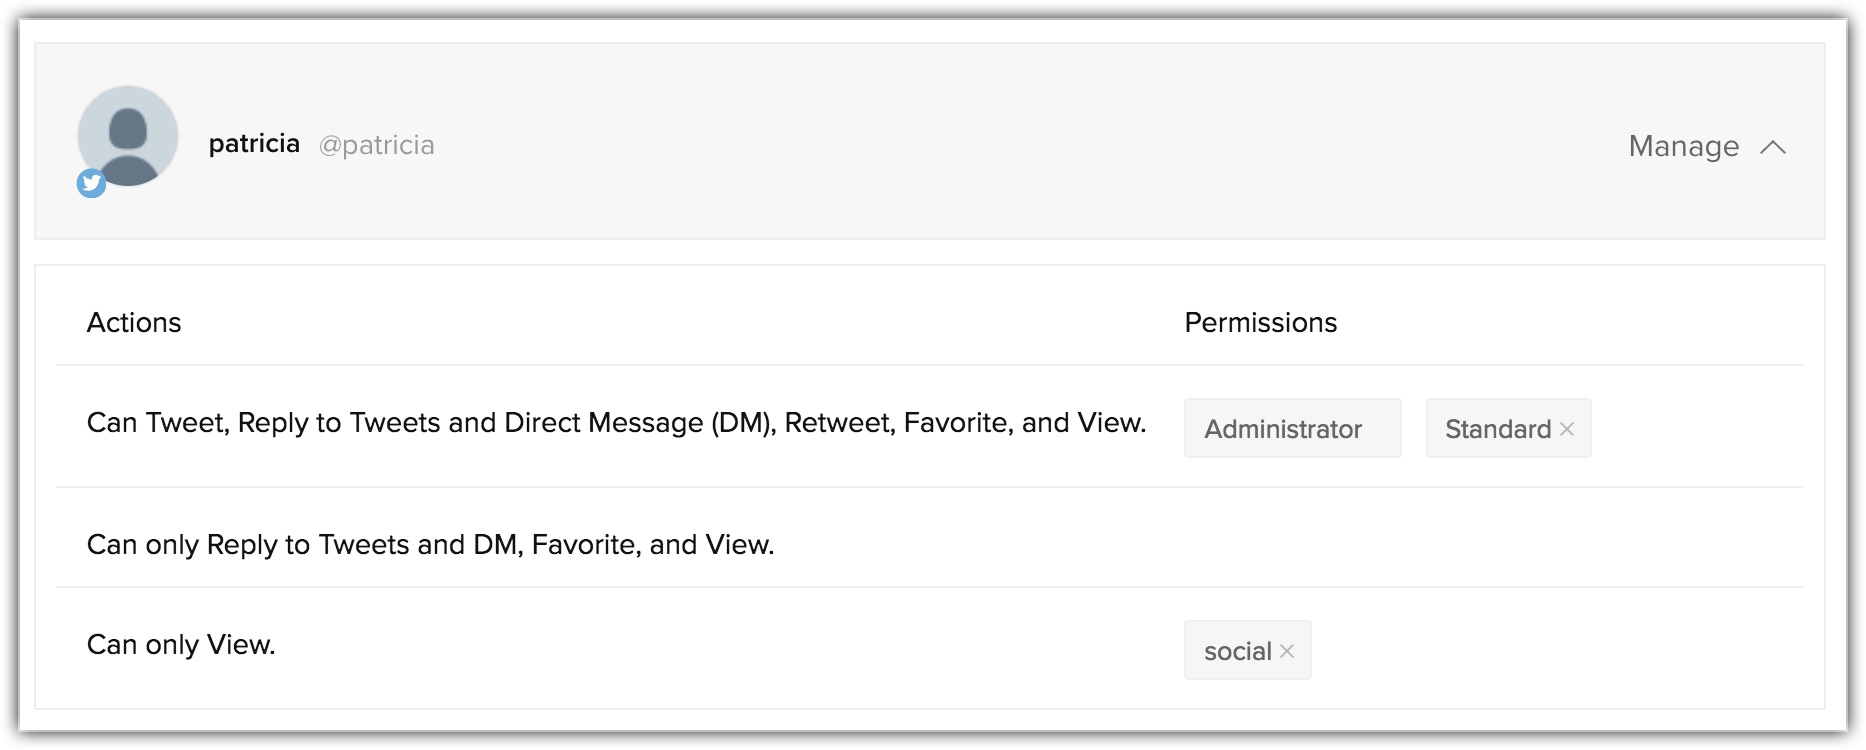
- Actions - This permission defines the actions that can be performed by users in each profile.
Remove Twitter/Facebook Company Profile
- On removing all three accounts (Facebook, Twitter), data under Social tab and Social Interactions Related List will no longer be available.
- You can always integrate the social media accounts once again.
- All the leads/contacts added via Social tab will stay intact. They are not lost.
To remove Twitter/Facebook account association
- Log in to the CRM as an Administrator/Social Admin.
- Go to Setup > Channels > Social.
Alternatively, if you are in the SocialTab, go to Settingicon > Twitter/Facebook to delete a profile. - Select a Brand and click the Delete icon of the corresponding Twitter profile, Facebook page.
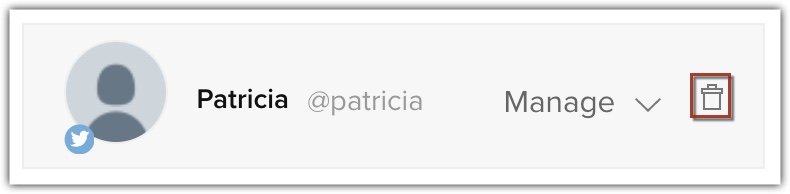
- Click Yes, Delete now to confirm deletion.
Enable Social Admin Permission
The Social Admin permission can be enabled in the CRM for those who manage the social media activities in an organisation. A user with the Social Admin permission enabled in his/her profile will have access to Social Settings in the CRM. That is, a social admin will be able to set up social media accounts and manage permissions of other users who have access to them.
Only the Super Admin or a user with Administrative privileges can enable Social Admin permissions for other user profiles.
To enable Social Admin permission
- Log in to the CRM with Administrative privileges.
- Go to Setup > Users & Control > Security Control > Profiles.
- Click Edit for the Profile for which you wish to grant the Social Admin Permission.
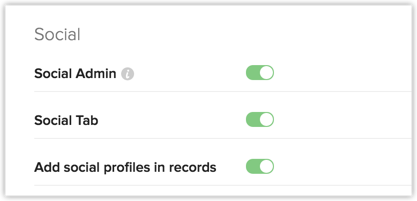
- Scroll down to the Social Permissions section.
- Enable the Social Admin permission.
- Social Profiles - Contact/Lead Details Page : This represents the ability to associate the personal Facebook/Twitter profiles of Leads/Contacts in the CRM.
- Social Tab : This represents the access to the Social tab.
- Social Profiles - Contact/Lead Details Page : This represents the ability to associate the personal Facebook/Twitter profiles of Leads/Contacts in the CRM.
- Click Save.
- Once you remove the Social Admin permission for a profile, the users under the profile will continue to have read-only access to the Social tab.
- If the Social Profiles - Contact/Lead Details Page permission is still enabled, they can continue to associate personal Facebook/Twitter profiles of Leads/Contacts.
- Access (even read-only) to the Social tab can be completely disabled only from Social Settings.
Social Settings can be accessed from either Setup or the Social Tab itself. - The Social Admin permission is not editable in the default CRM Profiles, that is, the Administrator and Standard profiles. In profiles that are cloned from the Administrator profiles, the Social Admin permissions are editable.
- A user with "Administrative privileges" is one who has the Admin Permissions enabled in his/her profile.
Related Articles
Working with the Social Tab
Working with the Social Tab Dashboard Monitor Post Activity Log Add a Lead/Contact/Account from Facebook/Twitter Automate Lead Generation via Social Media View Social Interactions Integrating your CRM account with Social media, fosters communication ...Social Profiles
Social Profiles Enabling Social Profile Integration Breaking down the Social Related List Adding Profile Image to the Record Deactivating Social Profile Integration Social media integration with the CRM gives the sales context to your interaction ...Tab Settings
Tab Settings Organize Modules Rename Modules Group Modules Tabs represent the different modules that are offered in the CRM. There are 18 modules, each representing a set of functions. You can customise the CRM user interface according to your ...FAQs on Social
FAQs on Social 1. Why am I unable to view the Social tab? It may be so because your administrator has not granted the Module level permission for your profile. Request your administrator to do the following: Click Setup > Users & ...Social CRM - An Overview
Social CRM - An Overview Brands Brand Interactions: Associate company's Twitter and Facebook Accounts Individual Interactions: Associate Twitter and Facebook profiles to your leads and contacts. Before you actually start selling, the first important ...