Working with the Social Tab
Working with the Social Tab
Integrating your CRM account with Social media, fosters communication with customers through social media that ensures real time data exchanges. While social media platforms offer you the opportunity to connect with several people, you need a CRM to tell you whom to connect with.
Enter the CRM's Social Tab - it lets you integrate your Twitter and Facebook accounts with the CRM. Not only does this integration help you monitor and participate in social media activities from one place, it also provides clarity about the significance of a particular customer to your business.
This is an organisation-specific integration so your Social Administrator needs to set it up in your organisation's CRM account. With Social CRM in place, you can
- Tweet from your company's Twitter account and Post status updates from your Facebook pages
- Monitor real-time activity such as likes/favorites, posts, comments, tweets, retweets, messages and mentions of your brand across Facebook and Twitter.
- Interact and engage with your customers across social media channels.
- Add prospective customers from Facebook and Twitter as leads/contacts in your CRM account.
- Search Twitter on relevant subjects using keywords and save the searches as separate streams so that you can always stay updated on topics relevant to you.
- Focus on posts from important customers/prospects by creating custom streams.
- Add deals, tasks and notes to a lead/contact from the Social tab.
- View all social interactions of leads and contacts with your company contextually, under the Social InteractionsRelated Lists.
Understand the Social Tab
To begin working with Social CRM, you must first integrate your company's Facebook and Twitter accounts with your organisation's CRM account. Only a user with administrative privilege can enable this integration. Once a social media account has been associated, other users will be able to access the data in the Social tab based on the permissions granted to them.
The Social tab comprises the following components:
- Dashboard
- Monitor
- Post
- Activity Log
Dashboard
The Dashboard comprises of two tabs that clearly demarcate your social media interactions and messages under the Conversation and Message tabs. The Conversation tab displays the posts, comments, mentions/direct mentions, likes, tweets, replies to the tweets and so on from Twitter and Facebook. The Message tab includes replies and private messages from Twitter and Facebook.
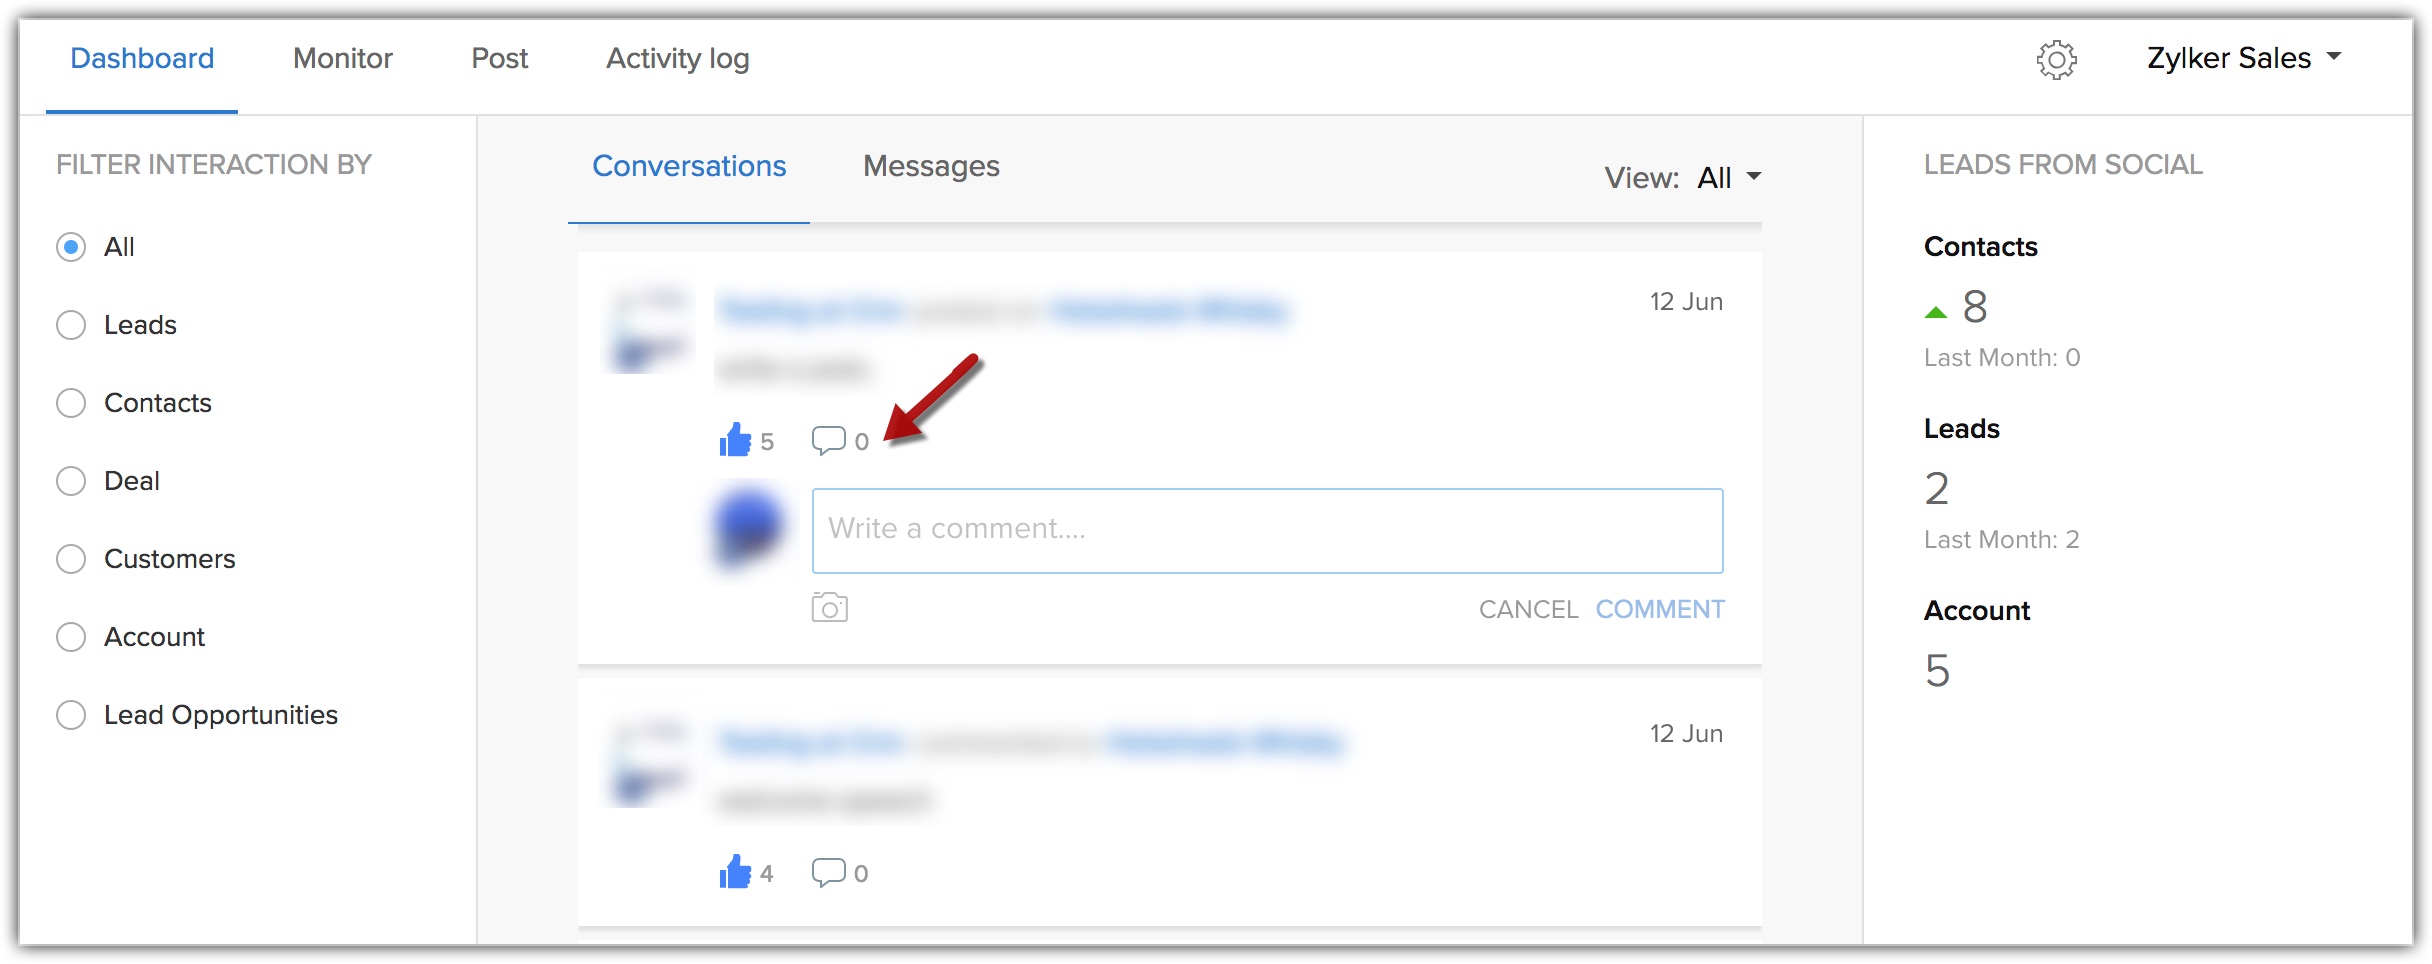
In dashboards, you can filter the conversations and messages using the below mentioned filters:
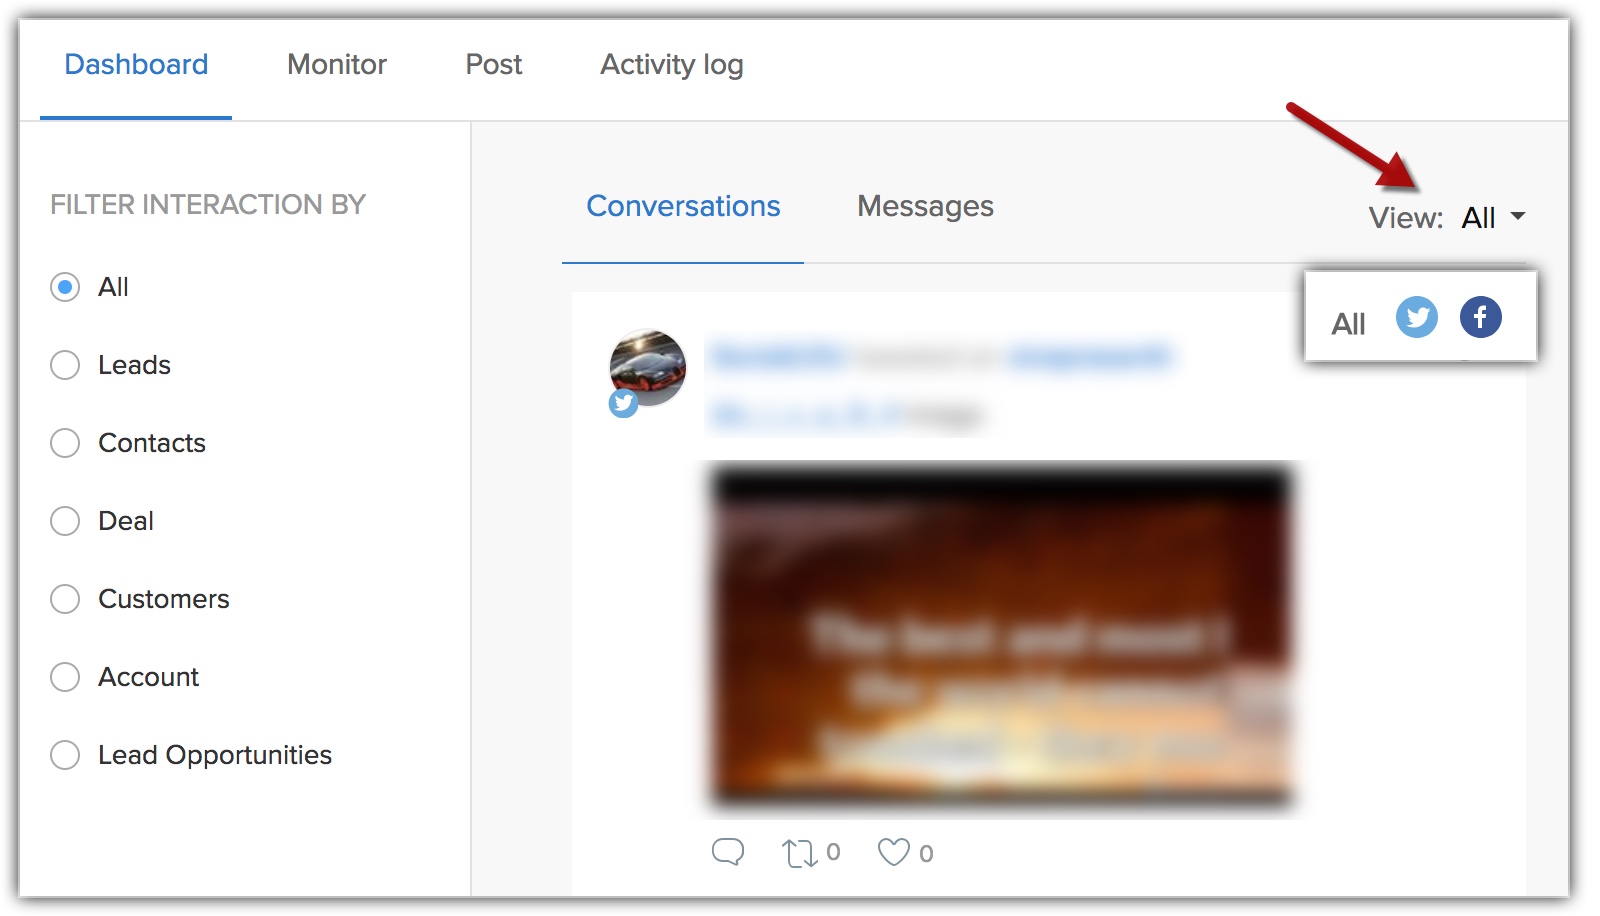
- Network Filter - You can filter the posts based on the network. Posts from either Facebook and Twitter will be displayed.
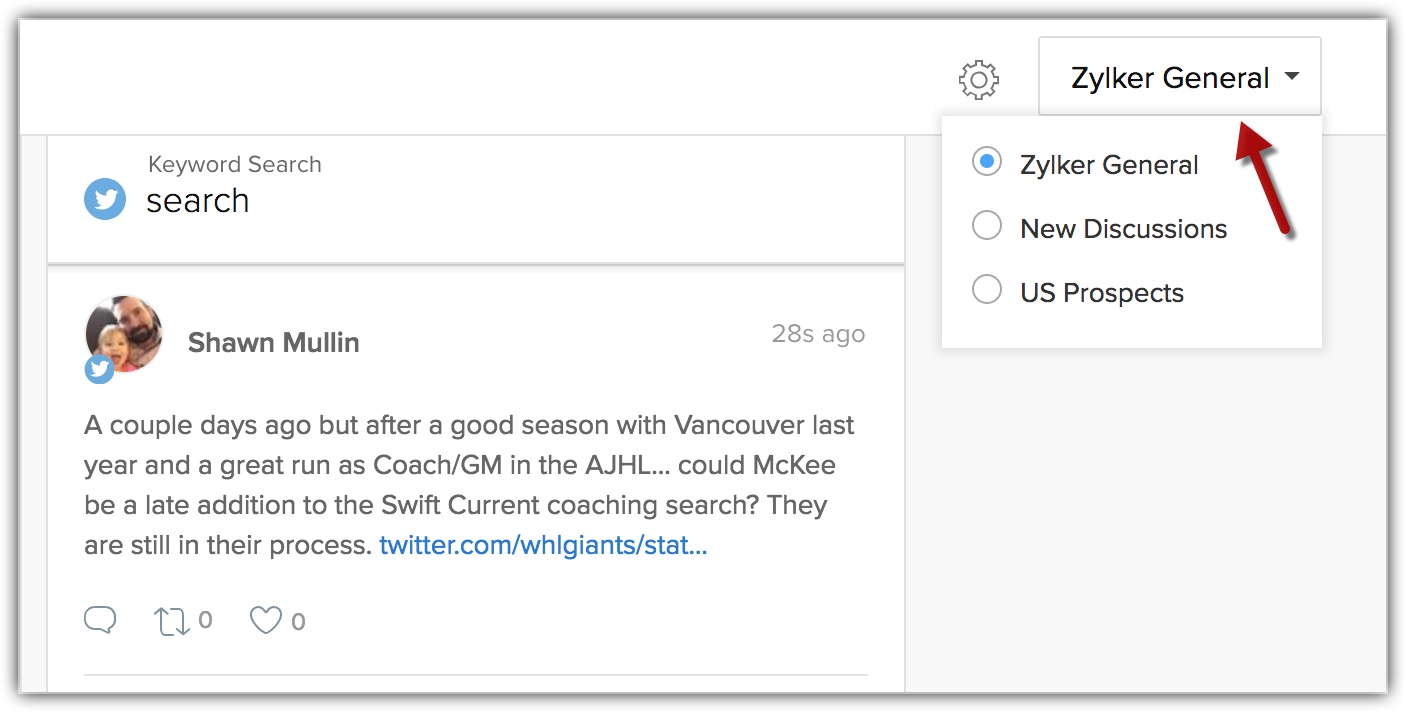
- Brand Filter - If you have more than one brand, you can use this filter to view posts from a particular brand. Brand filter is available for monitor, posts and dashboards.
- Module Filter - You can filter to view the posts from Leads, Contacts, Accounts, Open or closed deals. You can view posts from both standard and custom modules.
Monitor
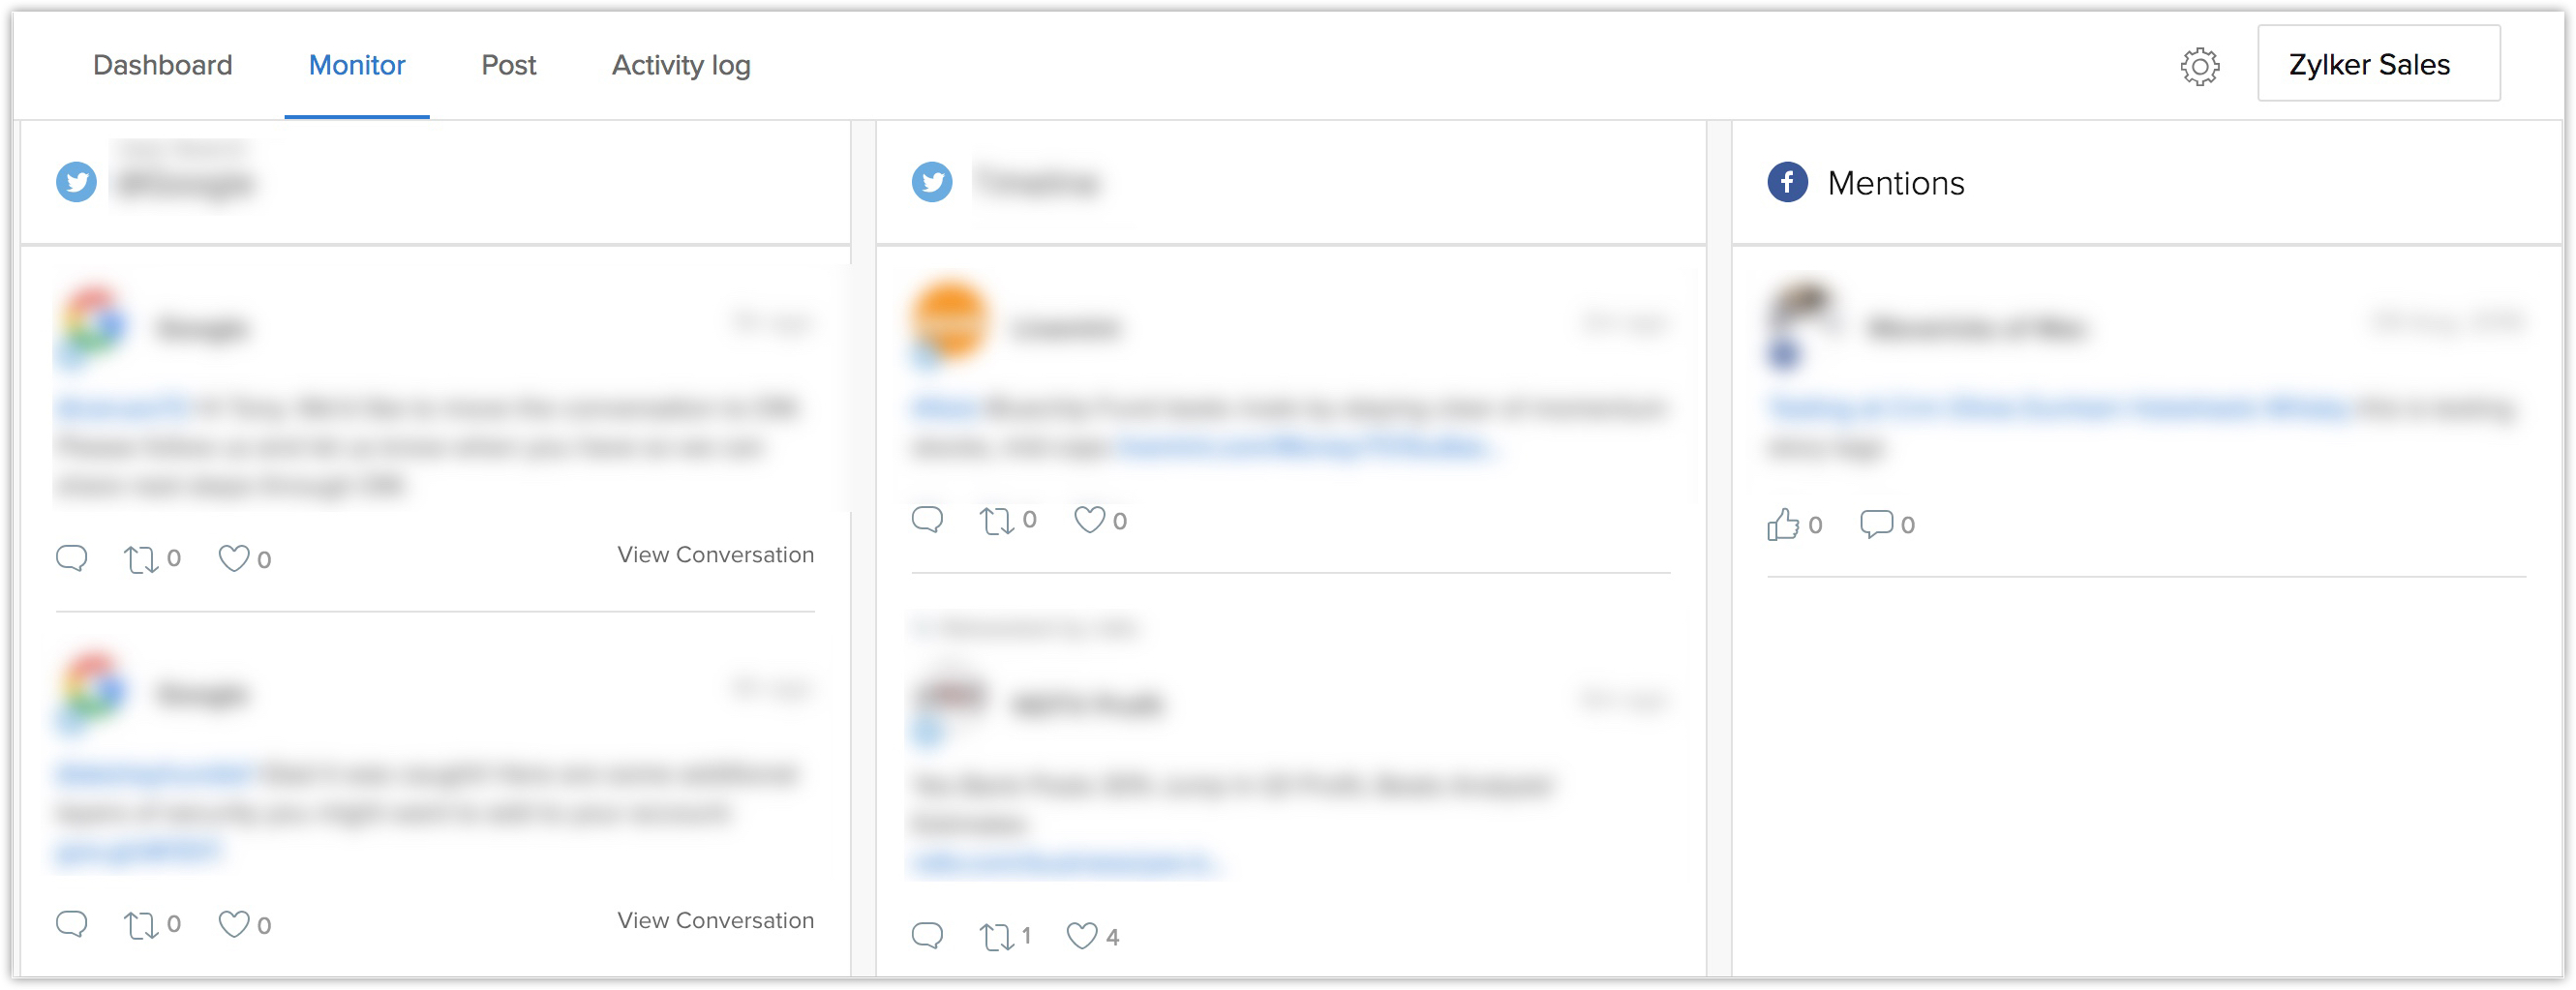
The Monitor tab lets you select the type of interactions or conversations that you want to view for each social network. For example, you can select only mentions/timeline/likes columns and view these results under the Twitter network, similarly you can select page mentions in Facebook and view all the posts grouped under the Facebook channel. You can choose to add as many columns you want for each of these networks. You can also reposition the columns by dragging and dropping to the desired place. You can also track the keywords and save the search results columns for future reference. To view the latest posts or posts surrounding the keywords, all you need to do is to refresh the saved columns.
Only for Twitter account, you can perform the Keyword and User Search action and save those columns to display the said tweets sorted by recency.
- Keyword search lets you search on Twitter for a few specific keywords and save the search results. For instance, if you are in the mobile app development business, you can search for topics such as mobile app development, iOS devices, Android devices and so on. These search results will be saved as a new column in the CRM view. Whenever you refresh posts in this column, you will be kept updated about what is being talked about these subjects on Twitter.
- Similar to Keyword search, you can keep a track of the posts by specific customers. Let's say you want to always know what some of your regular customers are saying about you. You can create a User search for these customers that will display the Twitter timeline of the contact. Whenever you refresh posts in this column, you will be kept updated about what these customers are saying on Twitter.
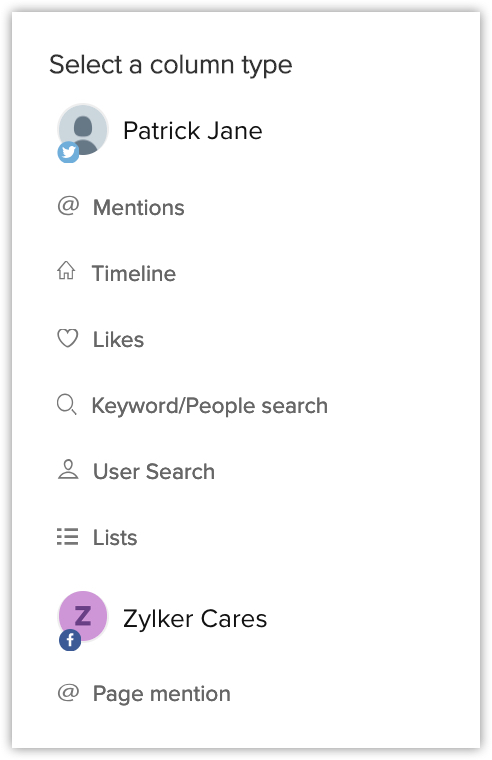

- You can add up to 5 search keywords per Keyword Tracking column.
- You can follow up to 5 people per User Search.
- The total number of search keywords used in Keyword Search columns and contacts used in User Search altogether cannot exceed 20.
In addition to the above actions, you can also perform the following from the Monitor tab.
- You can delete a channel if you do not want to view the post on that page by clicking the more icon. (In this screenshot, a Facebook page of Zylker have been de-selected). You can arrange and organise the columns as you wish. All you need to do is to drag and drop the columns to the desired place.
- You can also, filter out the social media accounts that you wish to be displayed based on the Brands.
- Add and save more columns by clicking the add icon (
 ). You can add columns to include, posts, likes, timelines, mentions, keyword searches, lists and many more.
Post
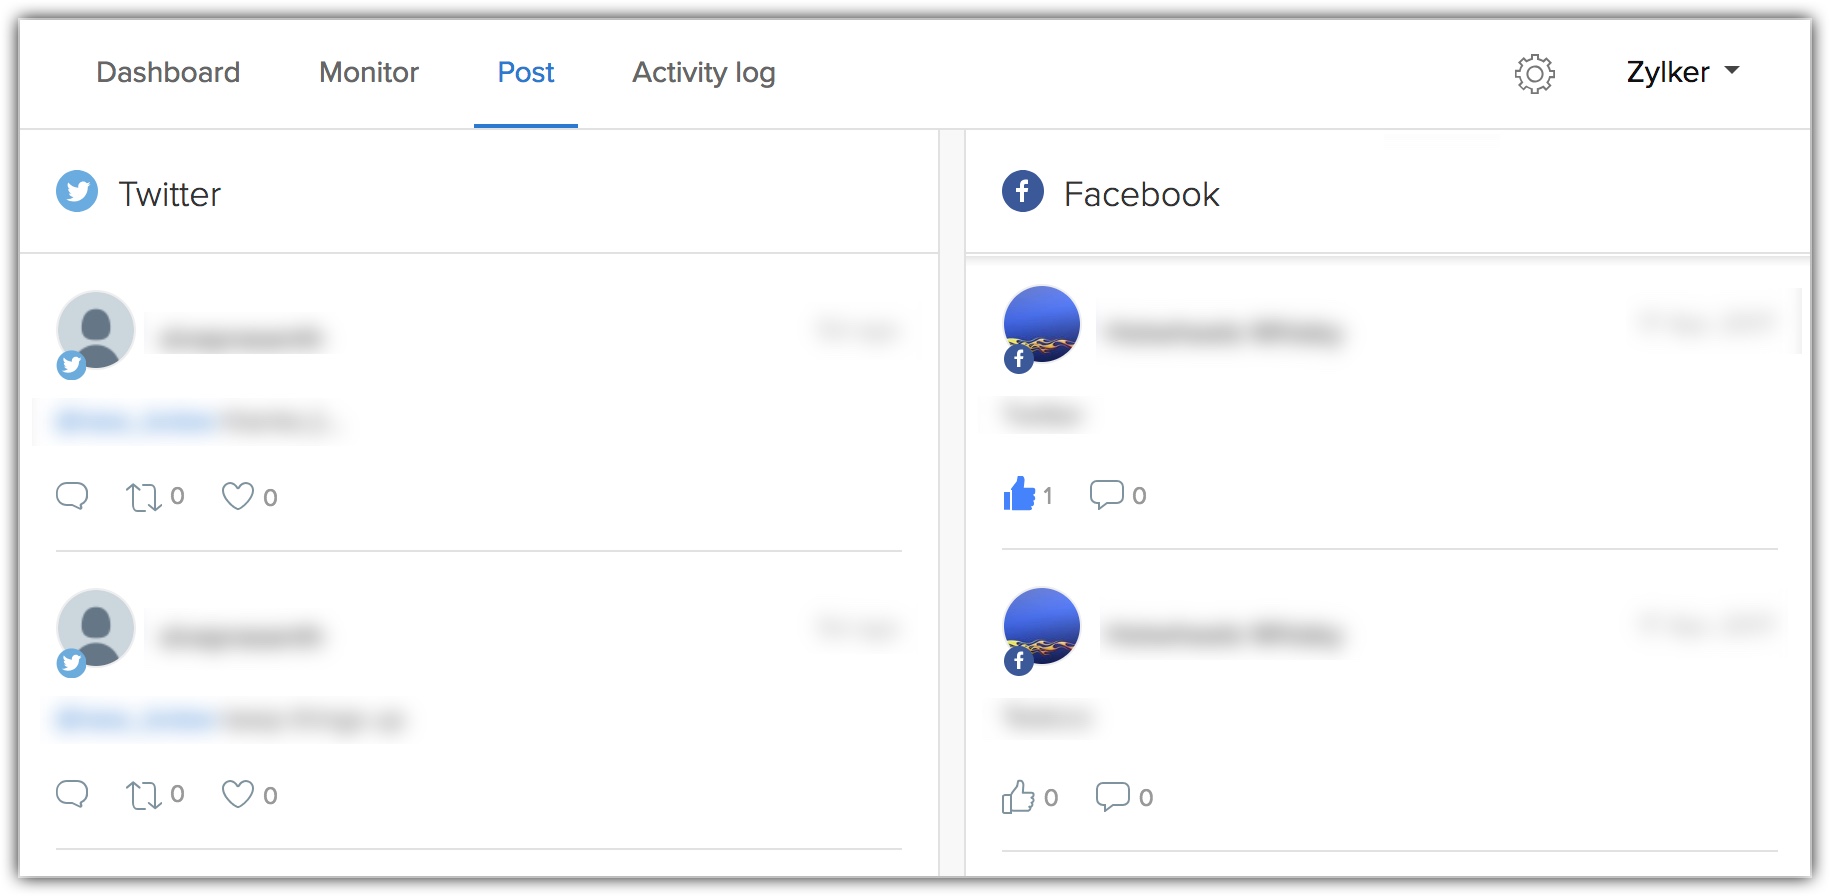
The Post tab displays all the social media posts from the networks that you have added. You can interact with each post, by adding comment, retweeting, replying or sharing the post. If your organisation uses more than one brand, you can use the brand filter to view posts from a particular brand.
Also, you can attach only one image to go along with a post. The maximum file size of an image that can be attached with posts from the social tab is 5 MB for Twitter and 25 MB for Facebook.
Activity Log
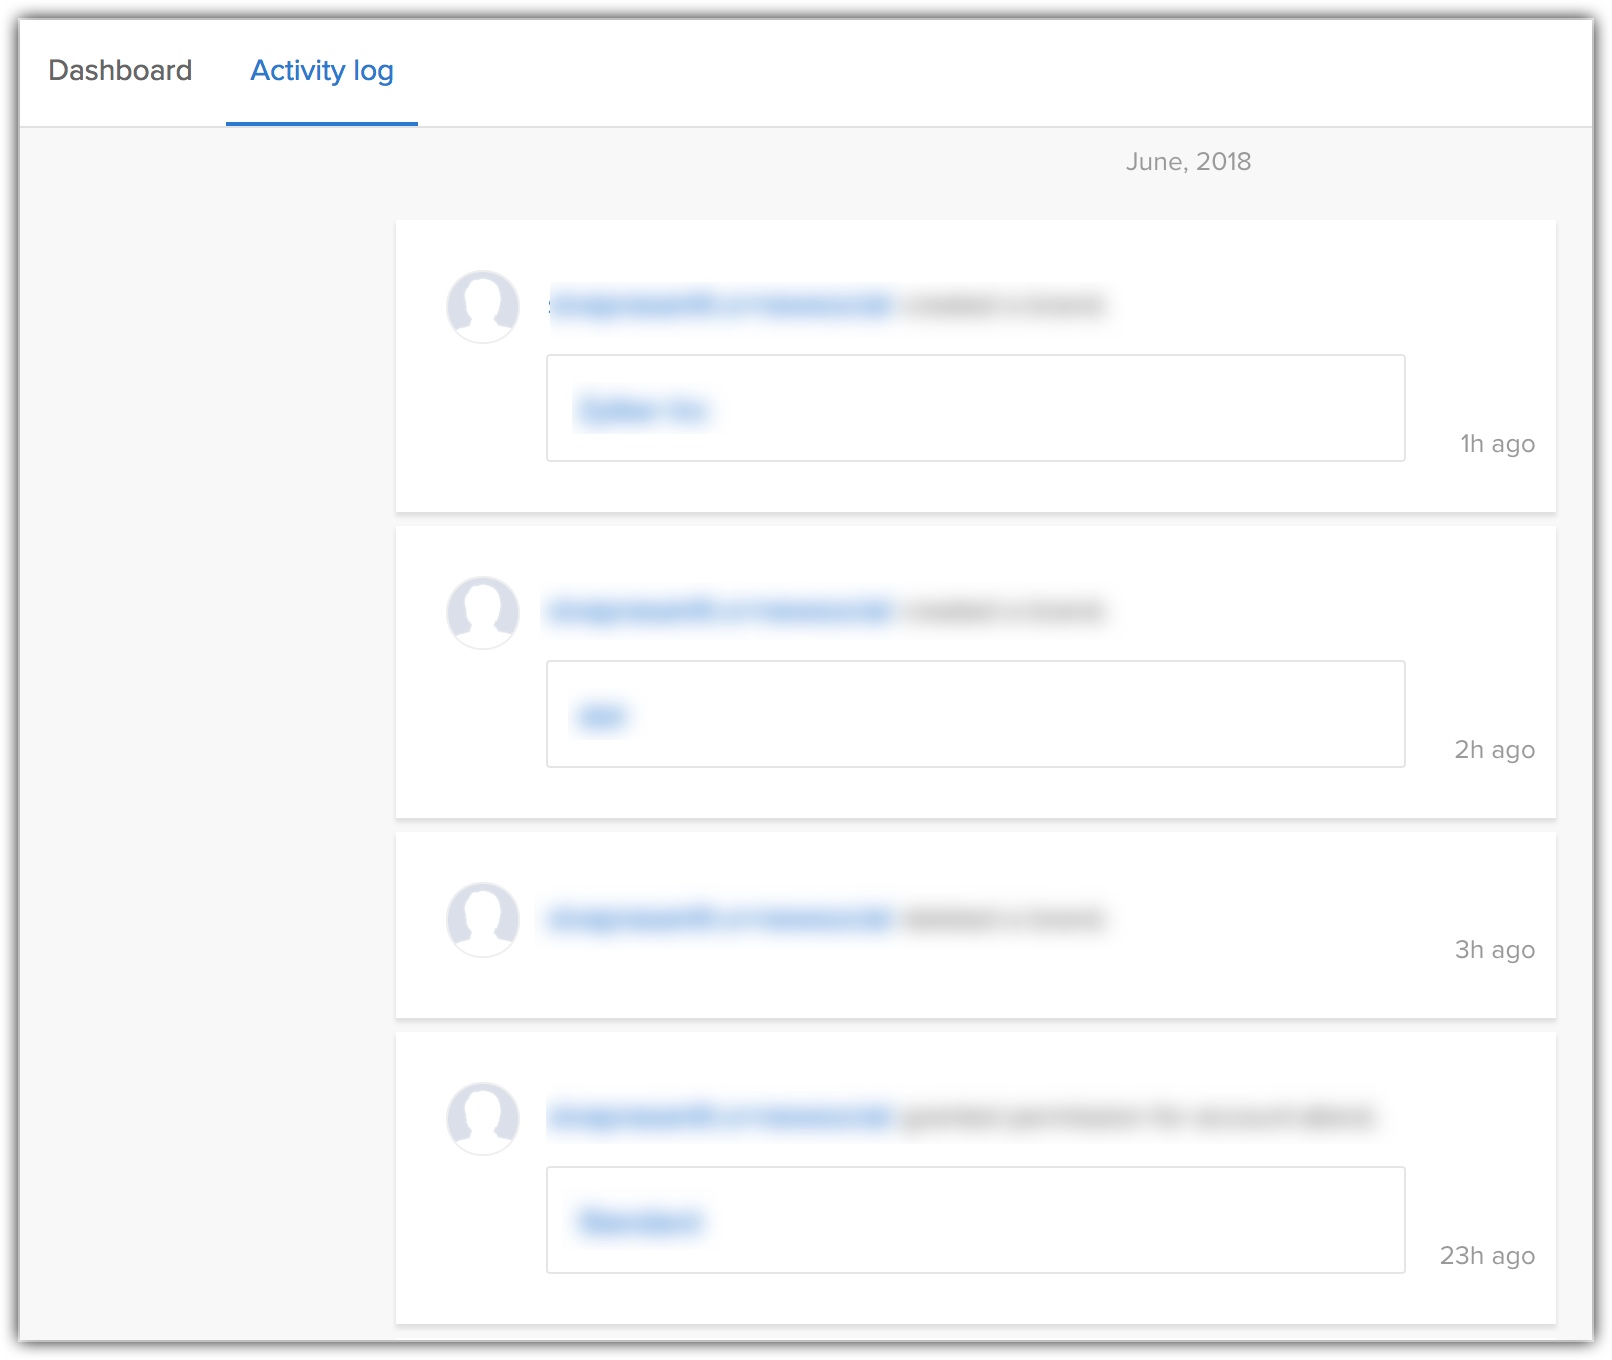
The Activity Log helps you keep track of a set of actions performed by you in the Social tab. These actions include the following:
- Publishing Status on Facebook
- Publishing Tweets
- Replying to Tweets
- Posting Comments
- Adding Contact/Lead
- Replying to direct messages on Twitter and messages on Facebook.
Note that the activities listed under the Activity Log changes varies for different users of a specific organisation's CRM account according to the respective user's actions. The Activity Log lets you view the recent activities performed from the social tab. The posts are displayed in chronological order with the most recent post at the top.
Add a Lead/Contact/Account from Facebook/Twitter
Social media offers you a great platform to meet new people, find new business.The moment you see that a person expresses interest in your business, you may want to add them as a lead/contact in your CRM database. With your Social CRM in place you can do so directly from the Social tab.
To add a lead/contact/account
- Go to the Dashboard tab > click Conversations.
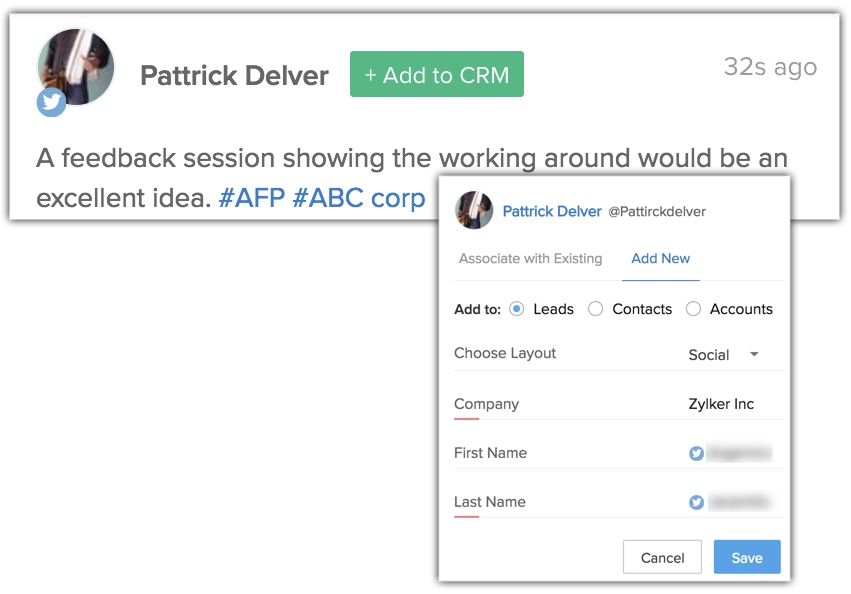
- Bring your mouse pointer over a social media post and click +Addto CRM.
- Associate With Existing - Search the contacts and associate.
- AddNew - Specify the details and add as a new lead or contact.
- Associate With Existing - Search the contacts and associate.
- Click Save.

- When you add a lead/contact from your company's Twitter handle, Facebook page associated within CRM, the lead's or contact's Twitter, Facebook profile will be automatically associated with the record.
- The lead/contact's activities with the account(s) or page(s) configured in Social Tab, such as mentions, posts on pages, replies to tweets, comments to page posts, conversation replies etc. will be consolidated under the respective record's details page under the Social Related List. Learn More.
- While adding a lead/contact/account from Twitter/Facebook in the Social tab, there is an option to search the existing leads/contacts/account by their name in the CRM.
- Social Administrators users who do not have permission to change profiles can go to Setup > Admin Settings in CRM account and check the social permissions.
Automate Lead Generation via Social Media
Social media is undoubtedly a rich source of leads for your business. When people mention your brand and talk about your organisation on social media, it is possible that those people might become your next big deals - but you will know that only if you have an efficient way to reach out to them.
With social automation rules, you can automate the addition of people who interact with your social media accounts as leads or contacts in CRM. For example, you can instruct CRM to automatically add whoever "mentions" your brand on Twitter as a lead and automatically assign the lead to your sales rep for regular follow-up. Similarly other social media action triggers include direct messages, re-tweets, favourites, likes and so on. There are similar appropriate triggers for Facebook and as well.
This way, when you bridge the gap between your social media accounts and your CRM, you can make sure you don't miss out on potential business opportunities from social media.
To create a social automation rule
- Go to Setup > Channels > Social.
You require the Social Admin permission in order to set up social automation rules. - Click the Automated Lead Generation tab.
- Against the respective social media channel, (Facebook, Twitter or), add the automation criteria. For example, let's say everytime someone "mentions" your brand on Twitter or "retweets" your tweet, you want to add them as a lead. To do this,
- Against the Twitter channel, click the Edit icon on "If someone" and select the required action triggers - in this case - Mentions OR Retweets and click Save.
- Instruct CRM to Add (this person)as a lead or contact, in this case lead.
- Associate an assignment rule.

The lead will get assigned to the user(s) mentioned in the rule. If you do not associate an assignment rule, the lead will get assigned to the organisation's super administrator.
- Against the Twitter channel, click the Edit icon on "If someone" and select the required action triggers - in this case - Mentions OR Retweets and click Save.
You can follow the same procedure in the case of Facebook. Following are the action triggers available for the social media channel:
| Twitter | Facebook |
| Mentions | Posts |
| Likes | Comments |
| Retweets | Likes |
| Messages | Messages |
| Replies | - |
Adding parallel conditions
Consider this scenario. When someone mentions your brand on Twitter, you want them to be added as contacts, but if someone only retweets your tweet, you want them to be added as leads.
In such a case, there are two conditions in place. You can create a new branch condition and specify criteria as seen in the image below.
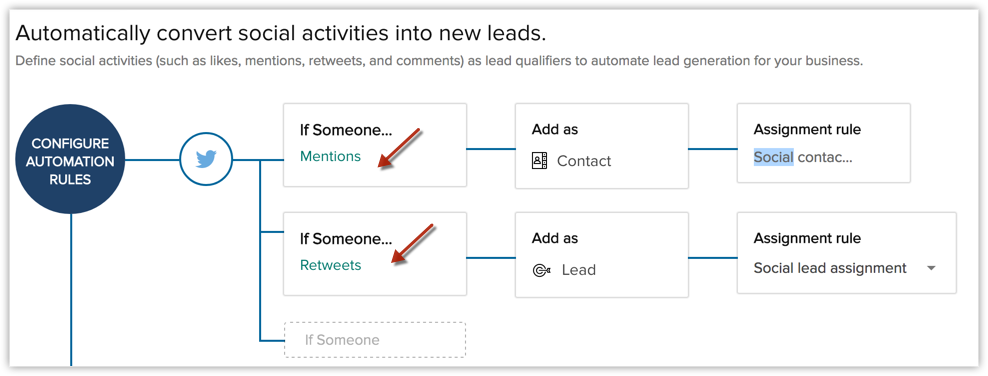
Leads and contacts added to the CRM from Facebook and Twitter via these social automation rules can be identified from the Lead Source field. For instance, you will see that a lead added from Twitter automatically has the Lead Source filled up as "Twitter". You can filter records based on Lead Source if you wish to see leads and contacts generated from social media.

- Social automation rules become inactive when you disable social integration.
- There is no AND criteria for the automation rules.
View Social Interactions
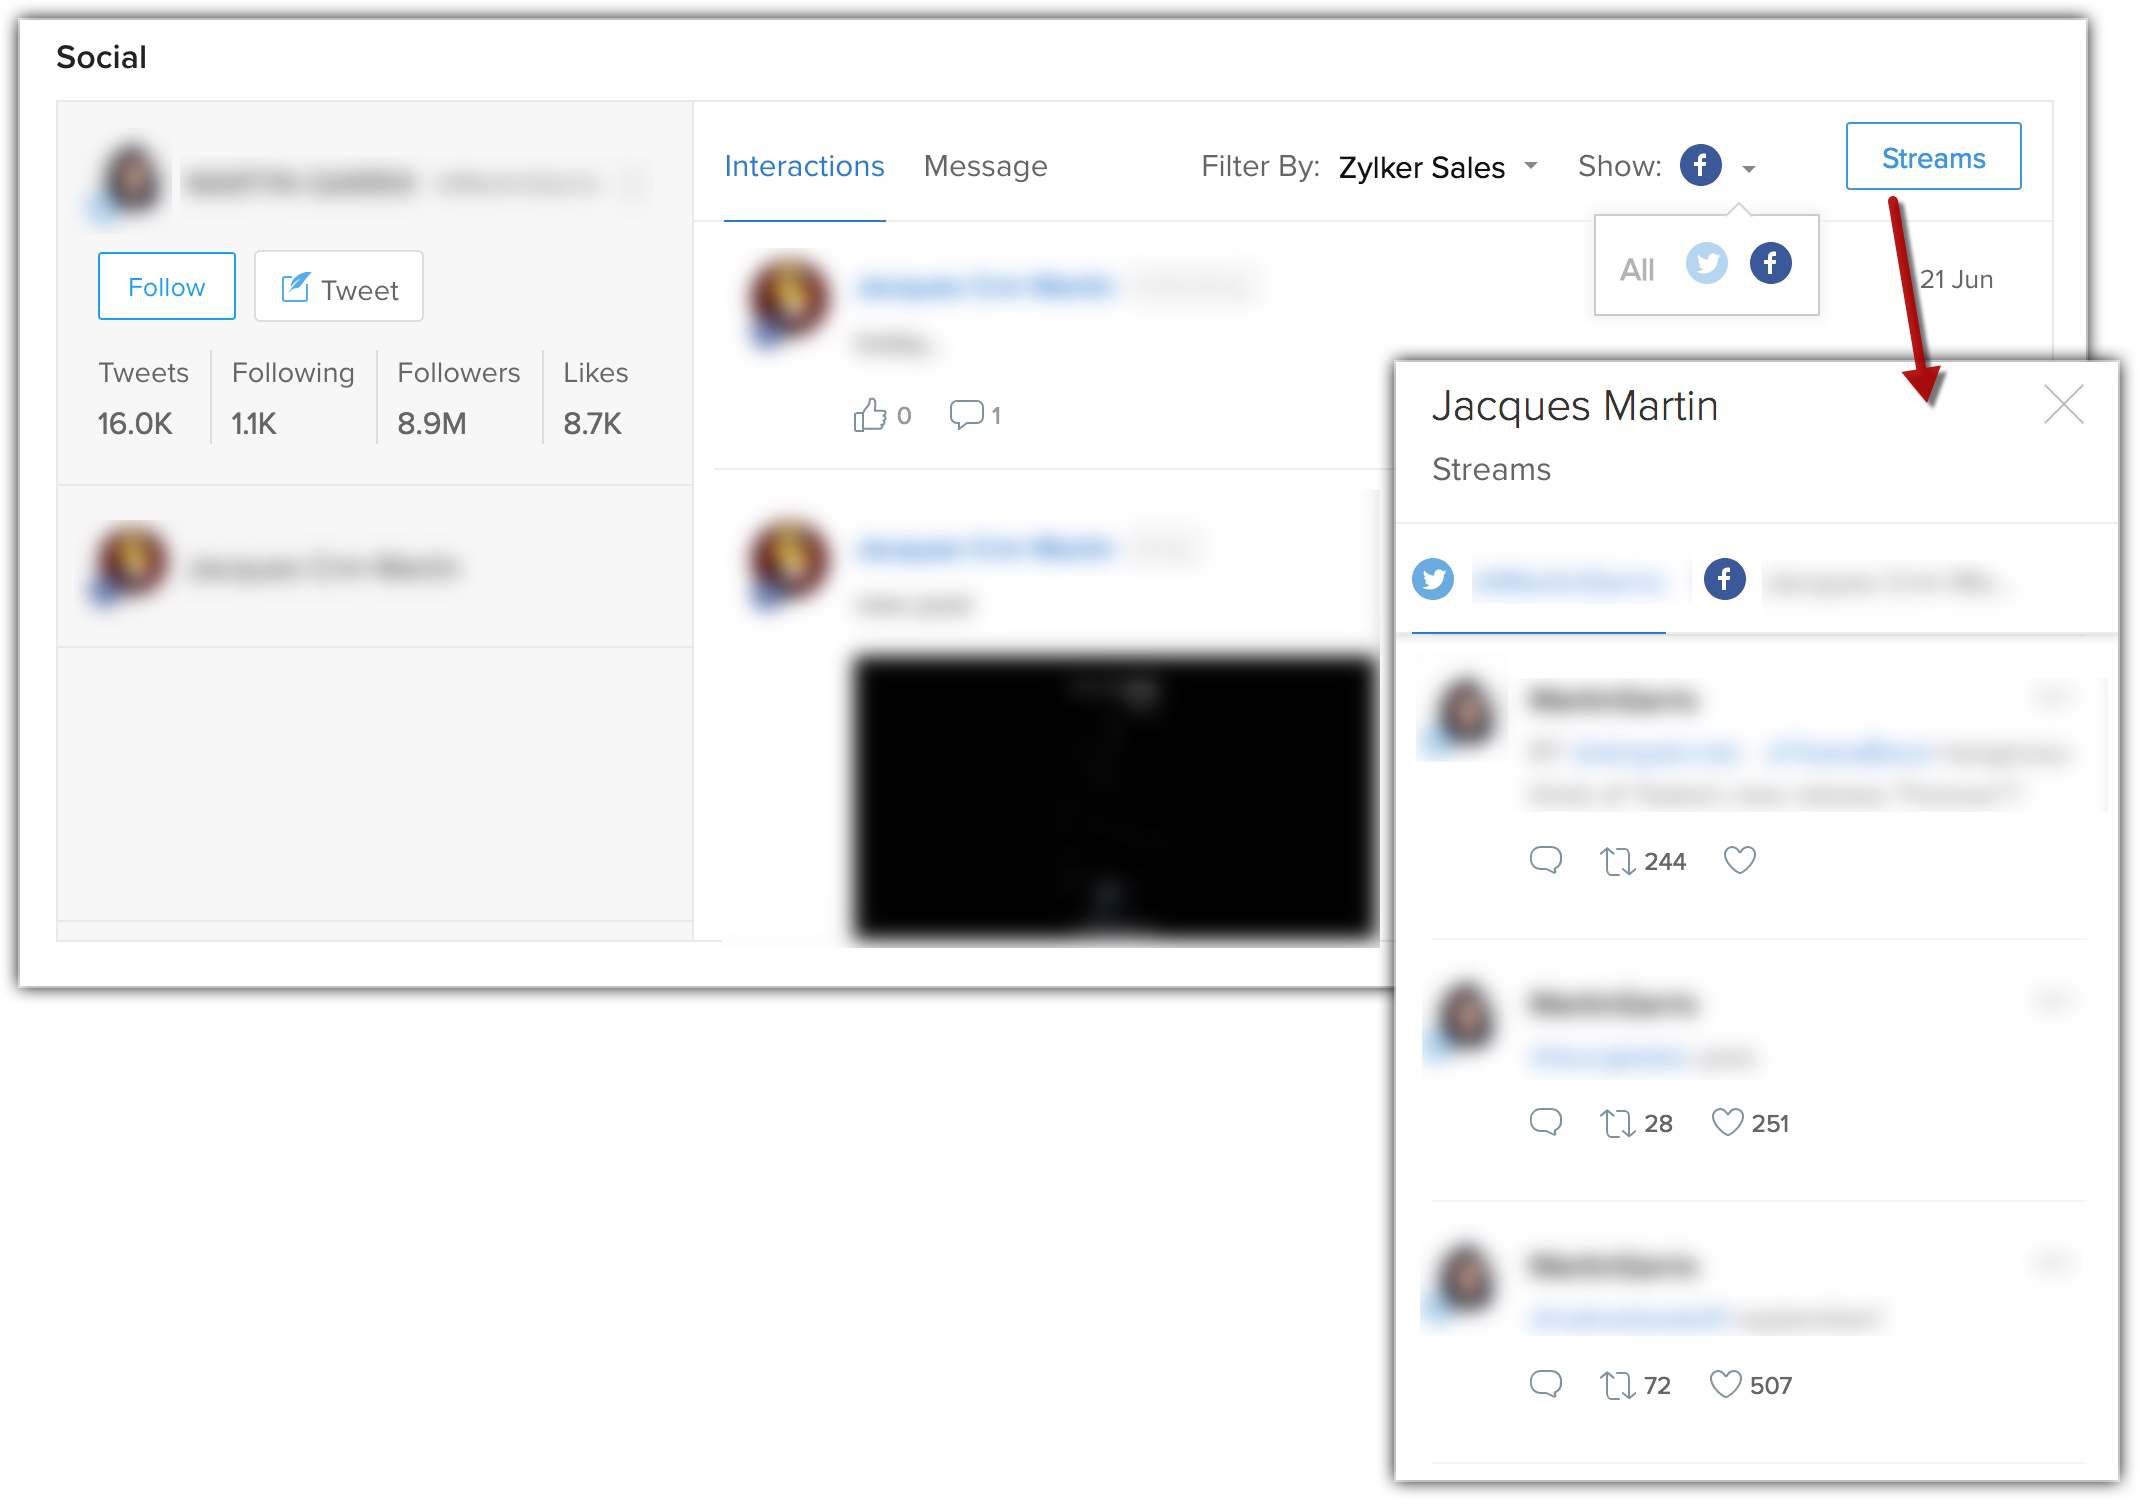
Leads and contacts in the CRM will have a new related list called Social in the record's details page. All the Twitter and Facebook conversations associated to the lead/contact under the tabs Interactions and Messages will be displayed. You can filter these conversations using the brand filter and network filter. You can also Search & Associate the social accounts of the lead/contact.
To view lead/contact's social interactions
- Go to Leads/Contacts tab.
- Click on a lead/contact and go to Social related list.
You will see social conversations associated with the specific record in the Social section.
Related Articles
Social Profiles
Social Profiles Enabling Social Profile Integration Breaking down the Social Related List Adding Profile Image to the Record Deactivating Social Profile Integration Social media integration with the CRM gives the sales context to your interaction ...Setting up Social Tab
Setting up Social Tab Create Brand in CRM Add Facebook Page Add Twitter Handle Remove Twitter/Facebook Company Profile In order for you to start using Social tab, your CRM account must be configured with any or all of your organisation's Facebook ...FAQs on Social
FAQs on Social 1. Why am I unable to view the Social tab? It may be so because your administrator has not granted the Module level permission for your profile. Request your administrator to do the following: Click Setup > Users & ...Social CRM - An Overview
Social CRM - An Overview Brands Brand Interactions: Associate company's Twitter and Facebook Accounts Individual Interactions: Associate Twitter and Facebook profiles to your leads and contacts. Before you actually start selling, the first important ...Working with Invoices
Working with Invoices Once the sales stage reaches its final phase you may start working on the payment procedure. In this regard an Invoice plays a vital role, which is important for both Sales and Accounting purposes. An invoice is a bill issued by ...