Working with Translations
Working with Translations
In a globally run business where employees and customers are spread across the globe, it is essential to have a multi-language support system to avoid any language barrier. The CRM understands this and thus provides an option to choose a preferred language for your CRM. In the CRM, when you set a preferred language, it applies to the modules, custom fields and picklist values too. This can pose a barrier if your organisation operates in different countries.
Say for instance, your organisation has its headquarters in Germany with branches in US, Europe and Japan. Since you mainly operate from Germany your preferred language in CRM would be German. However, the sales personnel from other branches would find it incomprehensible and will prefer their native language. Translations, in the CRM, addresses this issue and lets you translate the fields and picklist values to an individual's preferred language.
Users with Administrative profile can access.
Begin Translation
To begin translating language files, follow the steps below:
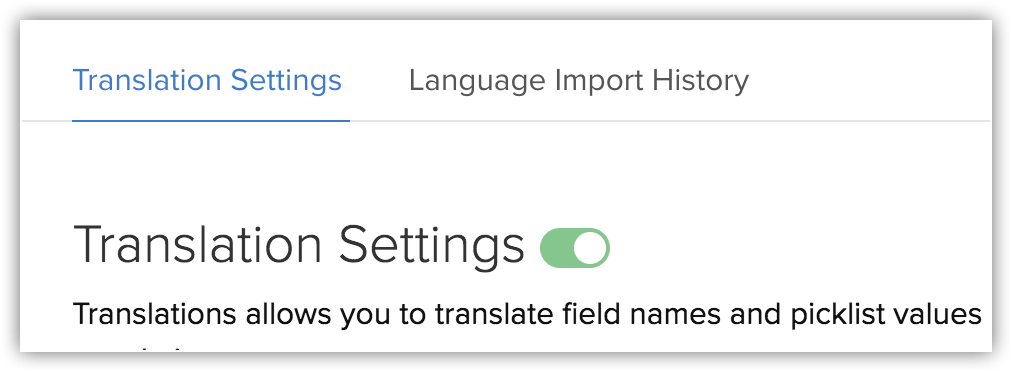
Step 1. Switch On the Translation Settings
The first step is to turn on the translations settings. Before your begin, make sure you are logged in to your CRM account with Administrative privileges.
Step 2. Add Language
The second step is to add the language into your CRM account. In the CRM, you can select a language from 24 pre-defined list of languages. When you add a language, a file is added that consists of a unique language code to identify the language. The file lists all the picklist values and custom fields in the default language of your CRM account. One by one, you can add as many languages as you require and use the language files to translate them.
Step 3. Export Language Files
Once you add the languages, the next step is to export the language file that you want to translate for your organisation. An export file contains all the picklist values and the custom fields that need to be translated. You can choose to export individual file or export all the language files at once. Once the language file is exported, you can translate the picklist values and custom fields in an export file either yourself or outsource to a vendor.
Step 4. Import Translated Language Files
After exporting the language file, you can either translate the fields yourself or outsource it to a translator. Please ensure that the format of the exported file is not changed as it might affect the translation in the CRM. Once you have finished translating the fields, you must import the translated file into CRM.
To translate a language and add it in CRM
- Go to Setup > Customisation > Translations.
- In the Translations page, toggle on the Translation Settings button.
- In the Translations page, click Add Language.
- In the Add Language pop-up, select a language from the drop-down list.
- Click Add.
If you want to remove a language from the list, hover on the language and click the Delete icon.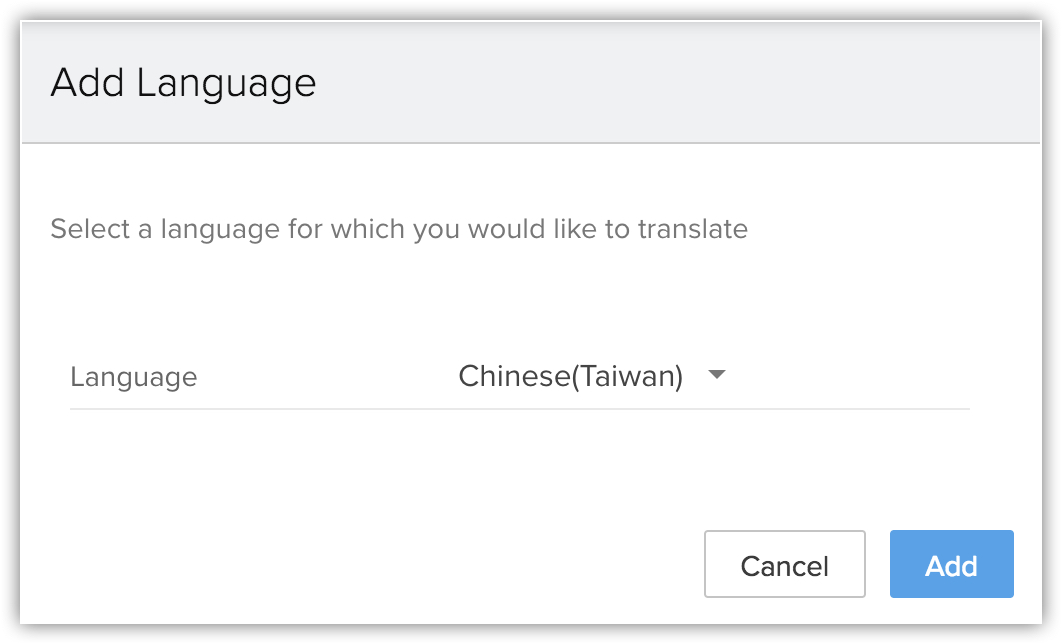
- Click the Export link corresponding to the particular file that you added.
Alternately, select Export all option to export all the language files at once. - In the Export notification popup, once the export is complete, click Download.
You need to add the translated values in the language file that you downloaded.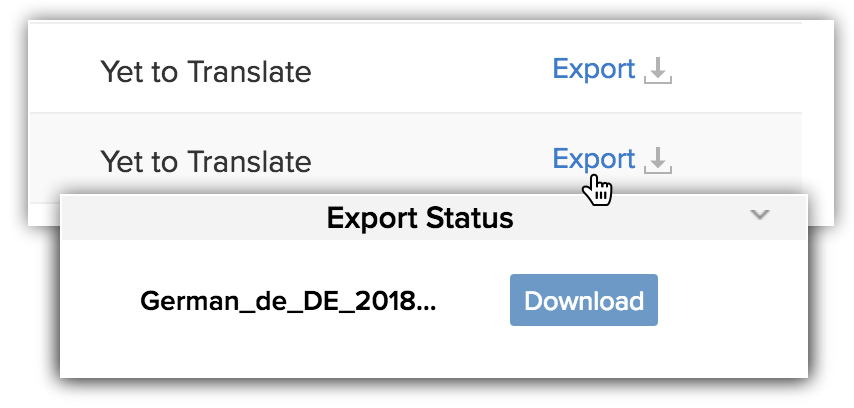
- Add the translated values in the downloaded language file.
- In the CRM's Translations page, click Import.
- In the Import Language File pop up, browse and select the file you downloaded and translated.
Make sure the import file is in .txt or .zip format. - Click Import.
The translated values from the file will be added to the CRM.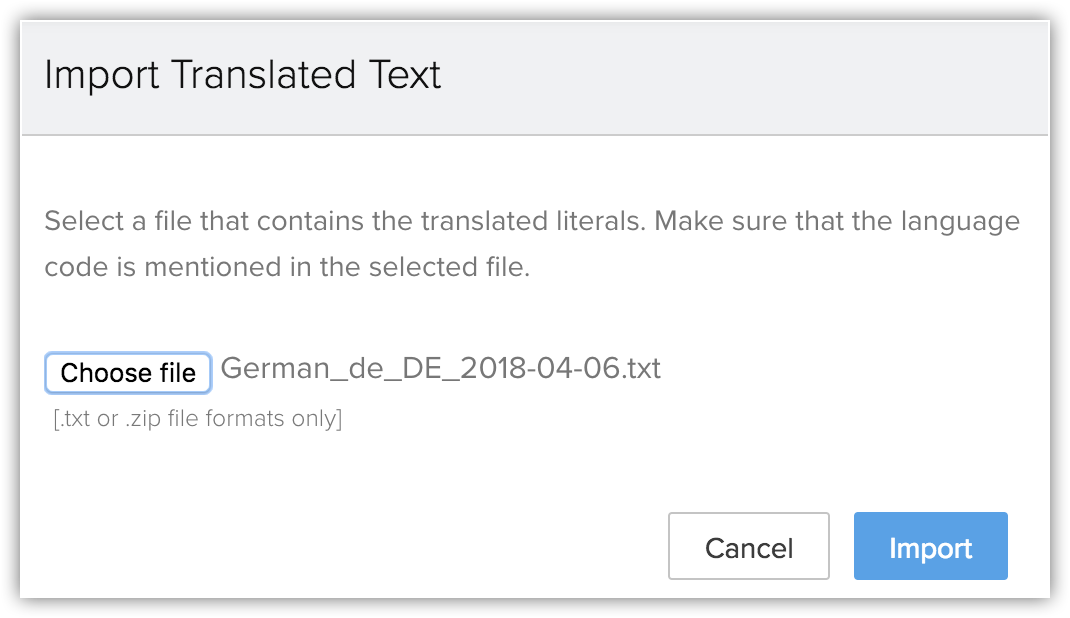

- Each file/value is in this format: PicklistValues.Leads.Lead_Status.Contacted=Contacted
Make sure you do not change the original picklist values and custom field names in the exported language file. The translated entry should be in this format: PicklistValues.Leads.Lead_Status.Contacted=TranslatedValue - Each language is identified by a unique code, that helps in mapping an imported file to the correct language in CRM. Hence, these language codes should not be altered while exporting or importing a language file.
View Language Import History
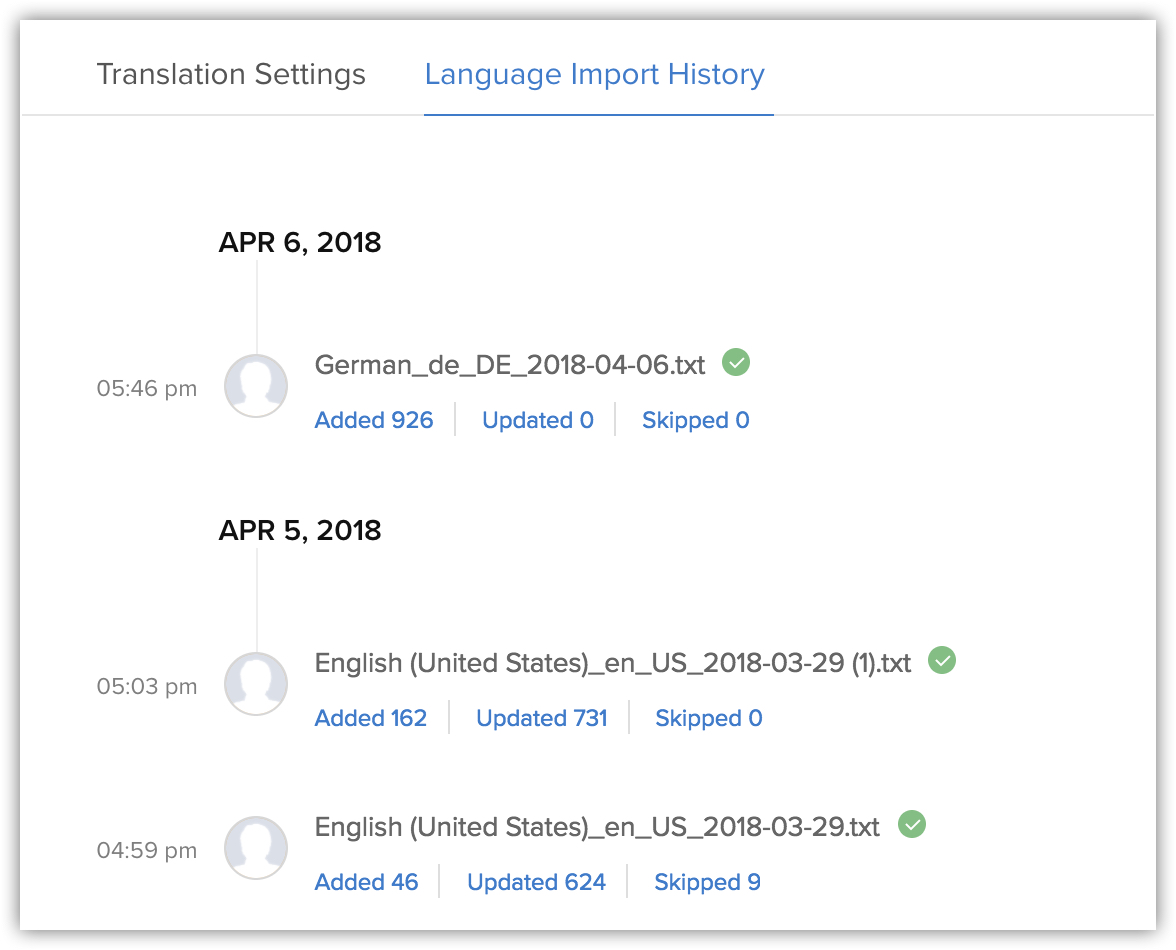
A complete list of files that are imported till date is available under the Language Import History. The imported language files are arranged in a chronological order with the most recent ones on top.
To view language import history
- Go to Setup > Customisation > Translations.
- In the Translations page, click the Language Import History sub tab.
- For each entry, you can click one of the following links to view the details:
- Added - The newly translated literals are listed here.
- Updated - When an existing translated literal is updated in the next round of translations, it is listed here.
If you are translating a language for the first time, the updated value will be zero. - Skipped - If any literal fails to translate in the CRM, it will be listed under skipped.

- You can choose to export only the failed literals instead of exporting the entire language file. You can then translate only the failed literals and import the updated file.
Alternately, you can export the entire language file and rectify only the failed literals and import the entire language file. - An imported file will be available in the import history for 60 days.
Export a Translated File
There can be chances when you have already translated a language and later added new custom fields or picklist values in a module. In such case, you can choose to export the translated file and just translate the new fields and import the language file back into your CRM account. This will help you avoid translating all the fields again. Alternatively, you can export an untranslated language file and translate all the fields.
To export a translated file
- Go to Setup > Customisation > Translations.
- In the Translations page, toggle on the Translation Settings button.
- Click the Export link for the corresponding file.
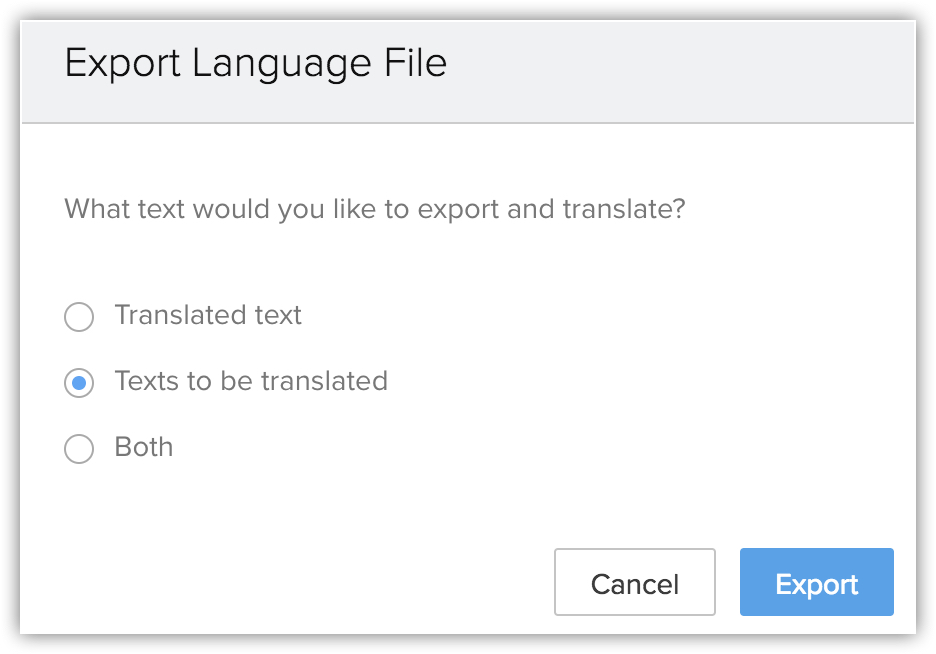
- In the Export Language File popup, choose one of the following:
- Translated
- Text to be Translated
- Both.
- Click Export.
Revoke Language Import
In case you have imported a wrong language file, or if you do not wish to use the file that is imported into CRM, you can revert the action. Reverting it will undo the translations in the CRM that were done using the file.
To revoke an imported language
- Go to Setup> Customisation > Translations.
- In the Translations page, click the Language Import History sub tab.
- Move your mouse pointer over the Language File and click the Undo this language Import link.
- Click Yes, Proceed, to confirm.

Deactivate Translation
There are two options to deactivate the translation.
- Deactivate a particular language translation - In case you imported the wrong language file, or you do not want the users to use a particular translated file, you can choose to deactivate that language file in your CRM account.
- Deactivate the entire translation setting - If you no longer want to use the translations, you can deactivate the translation settings in your CRM account. If the translation setting is deactivated, the language setting will revert to the Default Language that is set in your CRM account.
Please note that, if you deactivate or delete a particular language, the users who are using that translated language will view the picklist and the custom fields in the default language set in your CRM account.
To deactivate a language
- Go to Setup > Customisation > Translations.
- Toggle off the Status button for the corresponding language that you want to deactivate.
- In the pop up, click Yes, Deactivate Now, to confirm.
To deactivate translation settings
- Go to Setup > Customisation > Translations.
- Toggle off the Translations Settings button.
- In the pop up, click Yes, Disable Translation, to confirm.
Reference Values for Picklist Fields
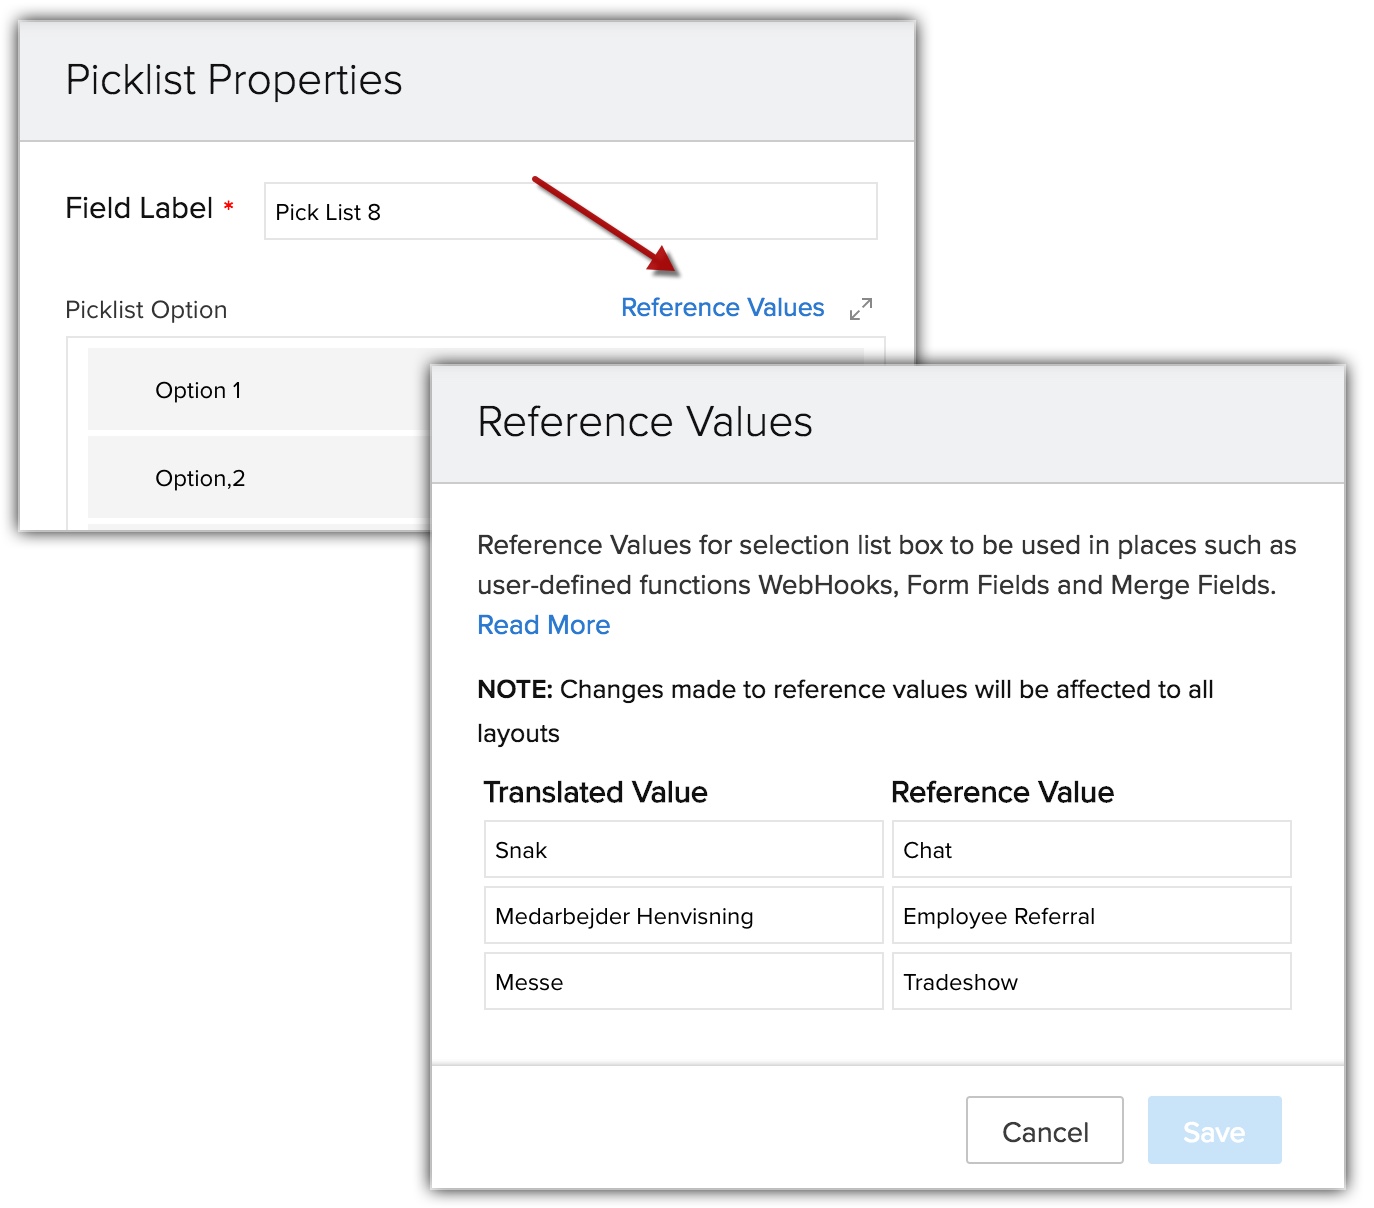
A picklist field value that is translated in various languages may not be functional when any one of the languages' value is used to define conditional checks of custom functions, parameters of web hooks, formula fields, merge fields of email template or task subject etc.
For example, if one of the option "Advertisement" in a picklist field "Lead Source" is translated in 10 different languages, then the function will not work with the same value "Advertisement" for users who use different language in CRM. To address this issue we have brought in Reference Values. Each picklist field is represented by a reference value, which is common in every language. While defining any of the above functions that involve a picklist field, the user must use only the reference values for the function to occur.
To use reference values
- Go to Setup > Customisation > Modules and Fields.
- Select a Module > click Edit Layout.
- Choose a picklist field and click the More icon.
- Click Edit Properties.
- In the Picklist Properties popup, select the Reference Value and use it in the mentioned places.
Related Articles
Working with Invoices
Working with Invoices Once the sales stage reaches its final phase you may start working on the payment procedure. In this regard an Invoice plays a vital role, which is important for both Sales and Accounting purposes. An invoice is a bill issued by ...Working with Purchase Orders
Working with Purchase Orders A Purchase Order is an order placed for procuring products or services from your vendors. It is a legal binding document that protects interests of both the vendor and buyers. In general, a Purchase Order (PO) contains ...Working with Campaigns
Working with Campaigns Campaign management allows you to plan, and keep track of the campaigns in your CRM account. This includes planning the campaign, preparing your mailing list etc. In the CRM, campaign management helps you to plan, execute and ...Working with Quotes
Working with Quotes Sales Quotes are legally binding agreements between a customer and vendor to deliver the customer requested products in a specified time-frame at a predefined price. Your customers can place orders within the stipulated period ...Working with Price Books
Working with Price Books For each customer, you can sell the same product at different prices. There are two key prices in price books. One is Unit Price and the other is List Price. Unit Price - It is a price fixed by the manufacturer for the ...