Creating Canvas View
Creating Canvas View
In the CRM, you can create and swap the record views between List View and Kanban View as and when required. But, these views may not be enough when you want to add a record image or arrange the fields in a different order or insert a background color to the field text box or use different font style for the text entries. To accommodate these unique requirements we have introduced the Canvas View.
Canvas View in the CRM lets you sculpt an exclusively personalised view of your CRM records. You can customise the way the records are displayed depending on your business needs. You can use canvas to add record images for better identification, use custom buttons for representing the fields, use specific font style or size, change the alignment of field types, group similar field types, and much more. In other words, you can completely refurbish the way your CRM records are displayed per your choice.
Let us take a few business scenarios to understand how the Canvas View can be useful in your arena.
In the automobile industry - For instance, you are a vintage auto dealer and use CRM to maintain the following information: list of automobiles, customer's requirements, number of classic cars, cars for auction, vintage motorcycles and more. You can customise the way these products are displayed in your inventory using the canvas. You can insert the cars or bikes images, use custom buttons to represent fields like contact numbers or correspondence addresses, highlight the vehicle category in blue, choose a background color for the field "exterior color" and so on. Importantly, in case you think the customer would like to get a brief description of the vehicle, you can alter the alignment of the description field right under the vehicle image.
In the real estate industry - Say for example, you run a real estate firm and use CRM to display the diverse list of properties that you deal with. Your customers would definitely like to get a view of the farm house, villa or the resort that they wish to purchase. Using canvas you can choose to display these property images, use custom buttons of your choice to represent the fields, alter the background color property area, highlight the location in red. Similarly you can group the fields like clients phone number/ email address/ residential address to maintain the exact alignment of these field entries.
In the tourism industry - Let's imagine you run a travel and tourism business and your CRM account comprises of modules like recreation, sports and adventure, entertainment and holiday packages. So, when a customer visits the modules they would surely expect an extravagant display of the records. You can ascertain a captivating view by adding images of the retreat spots and adventure sports, aligning the description of the locale right below the image, you can choose a font color that accentuates the image or you can highlight the itinerary details to grab customers attention and use some custom field buttons to portray various travel modes.
Users with Manage Custom View permission can create/edit a Canvas.

- For every user licence you can create 3 canvas view per module.
- While performing Copy Customisation you will be able to copy the Canvas View also.
Design & Build Canvas View
The CRM allows you to select from an array of pre-designed templates and customise them according to your requirements, or build a template from scratch using the design tools available in canvas. To design and build a canvas view follow the given steps:
Step 1. Create canvas view
You can create canvas view for both standard and custom modules, except for the Activities module.
To create canvas view
- Log into your CRM account and select a desired module.
- Click the Canvas View icon (
 ).
).
You will be redirected to the Canvas View page. - Click Create Your First Canvas View to continue.
Next, you will need to choose a design template or build your own template.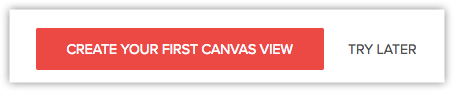
Step 2. Choose a design template or Build your own canvas view
Once you choose to create a canvas view for a module you can do either of the following for creating a design template:
- Choose a template: The CRM lets you choose from an array of pre-defined templates. The templates include a range of categories like people, help desk, real estate, automobile, organisation and so on.
- Build your own view: This option lets you build your own canvas view from scratch. You can use additional customisation options available in the layout editor for creating a personalised view of the module.
To choose a template
- In the Choose Template page, select a category from the available options.
You can choose from People, Organisation, Deals, Product, Help Desk, Real Estate, and Automobile. - Choose and click on a Template.
- In the Field Mapping page, select a field and choose any field from the drop-down list to which you want to map.
- Click Next, to continue.
Next, you will be redirected to the Canvas View Builder page to design your layout. Refer to the below layout editor table for designing details. - Click Save.
- Enter a name for the Canvas View created.
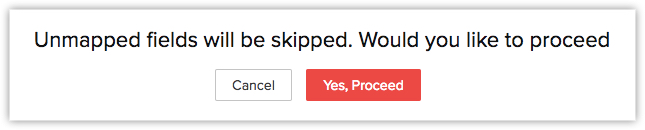
- During field mapping, the fields that are unmapped do not appear in the template. You will be prompted to choose if you would want to proceed without mapping a field.
To build your own view
- In the Choose Template page, click Blank Template.
- In the Canvas View Builder page, design your layout.
- Drag and drop the Fields into the blank template.
For example, Account Owner, Account Name etc. - Edit the template design.
Refer to the below layout editor table for designing details.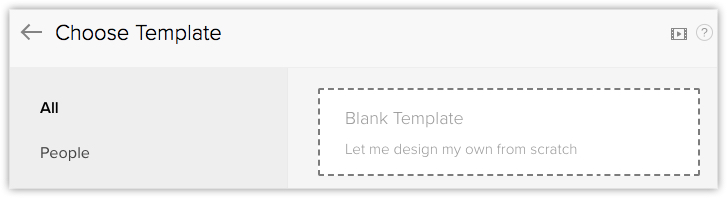
The below layout editor table describes the designing tools available in the canvas builder:
| Design Item | Description | Types |
| Style | Define a style in which the field name will appear. You can choose from the 12 available styles. |
|
| Font Size | Choose the font size in which the field text will appear from the drop-down list. | Range of 11px to 21px. |
| Font Type | Select the field text style. |
|
| Italics | Select if you want the field text to appear in italics. | I |
| Strike through | Select if you want to strike out the field. | ab |
| Capital | Select if you want the field text appear to appear in all caps. | AA |
| Color | Choose a text or background color for the field entries. You can select a color from the default list or create your own color palate. | |
| Text Alignment | Select either left, right or center alignment for the field entries. | |
| Spacing | Increase the spacing between the fields up, down, left and right. | |
| Label | Toggle off the label icon if you do not want the field label to be displayed. | |
| Icon | Select the custom buttons to represent a field label from the drop-down list. | |
| Copy Style | Copy any of the defined field label or value style. | |
| Paste Style | Paste the style to the selected field label or value. | |
| Group | Group two or more fields. Grouping is perfect when a customer has to enter lengthy text or text that has many characters. The field text box automatically expands to accommodate the entries without compromising the text alignment. | |
| Ungroup | Ungroup the fields if you no longer want them in a single text box. | |
| Delete | Select a field and delete if required. | |
| Undo and redo arrows | Using the two arrows, you go back and forth to change the design. | |
| Shuffle data | Use this option to shuffle the CRM records within the template. | |

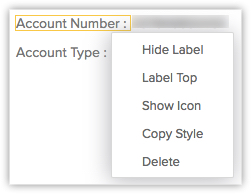
- You can perform the following actions by clicking on a field:
- Hide Label
- Label Top
- Show Icon
- Copy Style
- Delete
Once the template is designed, you can preview it. If required, you can make any changes before saving.
Step 4. Share the canvas view
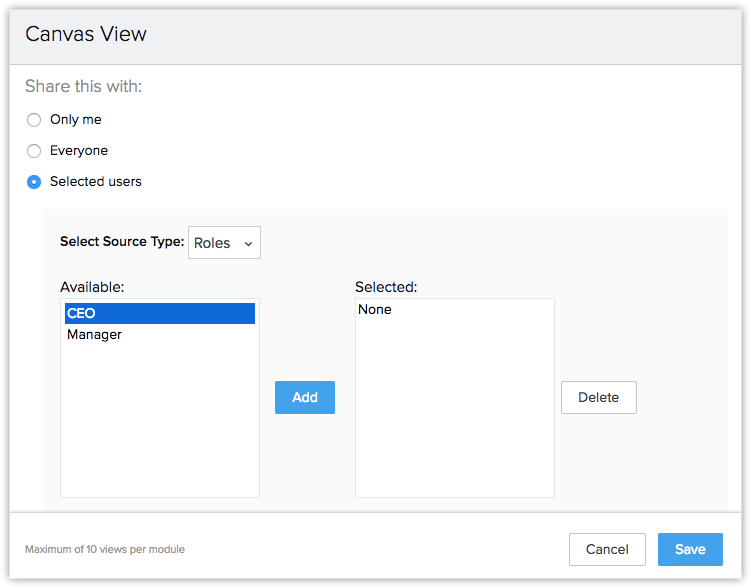
You can choose to share the canvas view that you have created. You can share the view either with all the CRM users or choose a selected list of users. The CRM users will be filtered based on roles, groups, users or roles and subordinates.
To share the canvas view
- Click Save, once the canvas view is created.
- Enter a name for the view.
- In Share this with, choose either of the following:
- Only me
- Everyone
- Selected users: In Select Source type, choose and add users from either Groups, Roles, Roles and subordinates or Users.
- Only me
- Click Save.
Manage, Edit and Create Additional Canvas View
If required, you can edit a canvas view that has been already created and create more than one canvas views for a module.
To edit and create canvas view
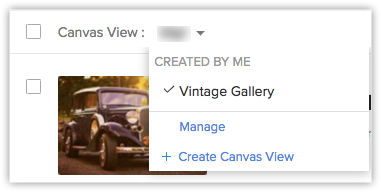
- In the Module page, go to Canvas View and click Manage from the drop-down list.
- In the Manage Canvas View page, choose either Edit, Clone, Share or Delete.
- Click Create Canvas View from the drop-down to create another view in the module.
Replicate Canvas View
You can create a canvas view from the canvas views that you have already created. The My Organisation Canvas option displays the canvas views from all the modules and you can choose the one which you wish to replicate.
To select an existing canvas view
- Select a Module and click Create Your First Canvas View.
- In the Choose Template page, go to the My Organisation Canvas and select a canvas view from the displayed list.
You will be redirected to the Field Mapping page.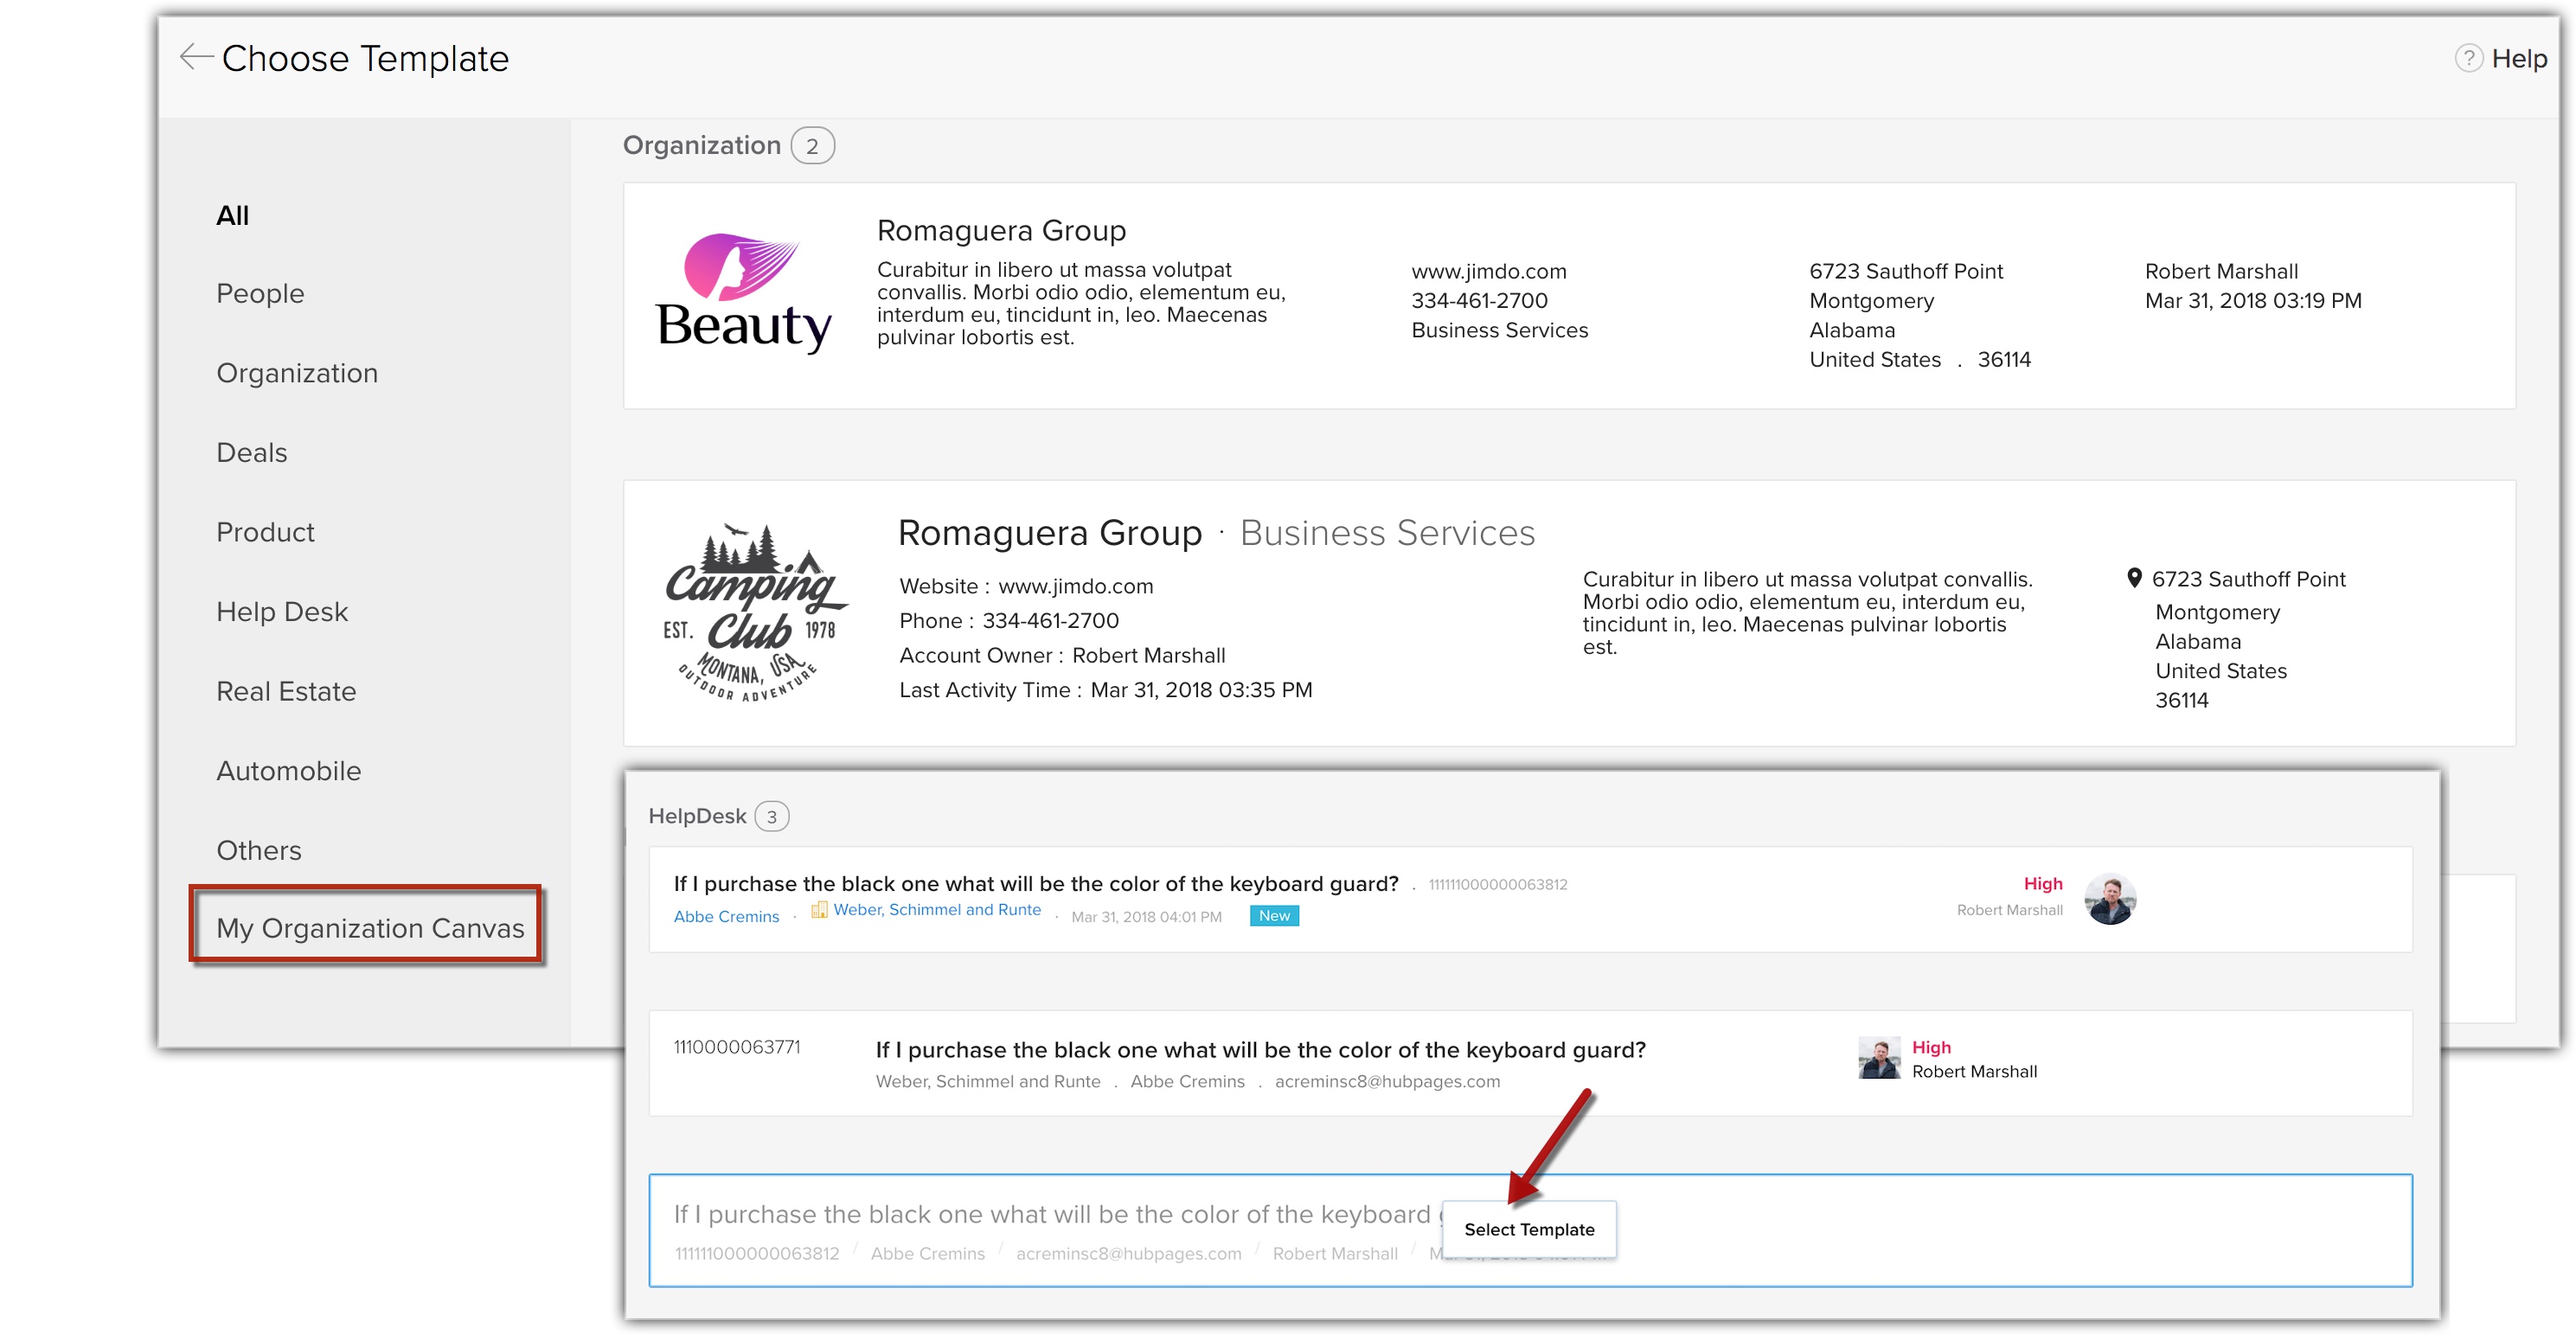
Related Articles
Creating a Portal
Creating a Portal Create a portal To create a portal Go to Setup > Channels > Portals. In the Portals page, click Get Started Now. Your company's name will appear as the default portal name. Edit the Portal name, if required. Click Configure Now. The ...Creating and Setting up Portal
Creating and Setting up Portal Setting up portals involves the following four steps: Creating portal Defining portal user type Configuring portal type Specifying field permissions Creating portal By default, the company's name will be the portal name ...Creating Comparator
Creating Comparator A Comparator lets you compare your organisation's data among users, roles and over different time periods. You can easily track information like sales teams performance over the years, number of deals lost or won in the ...Creating Vendors
Creating Vendors In the CRM, you can create vendors by: Entering data in the vendor details form: You can manually fill in the Vendor details in the form. Importing vendors from external sources: You can gather data through various sources and import ...Creating Dashboards
Creating Dashboards Create Dashboard Drill Down Dashboards Add to Home or Favourite View Dashboards Embed URL Dashboard is a summarized view of the custom report data in the CRM. It provides a platform for a real-time analysis of the sales stages and ...