Creating and Setting up Portal
Creating and Setting up Portal
Setting up portals involves the following four steps:
- Creating portal
- Defining portal user type
- Configuring portal type
- Specifying field permissions
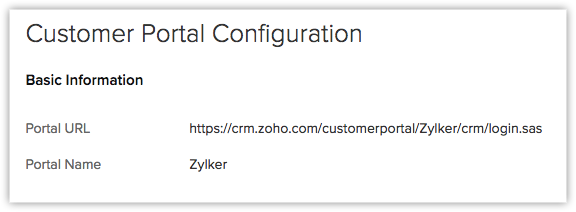
Creating portal


Note
- When you create a portal, a default portal user type called Client Portal will be created. This default portal user type will have the default settings and you cannot delete this portal user type from your CRM account. You can add up to 10,000 users to the default portal user type without payment. To add more users you need to purchase. You can only add clients or customers to this portal user type, you will not be able to add users from the same domain, i.e., your employees or partners.

Defining portal user type
A user type in a portal is a label for the users who will be accessing the modules from your organisation's CRM account. Permissions can be defined for the user types that will enable or restrict access to the data in the CRM account. These user types can be vendors, clients, consultants, customers, partners, or re-sellers.

Please note that the first portal user type must always be a customer. Therefore, you cannot add a user from the same domain in the first portal user type.

Note
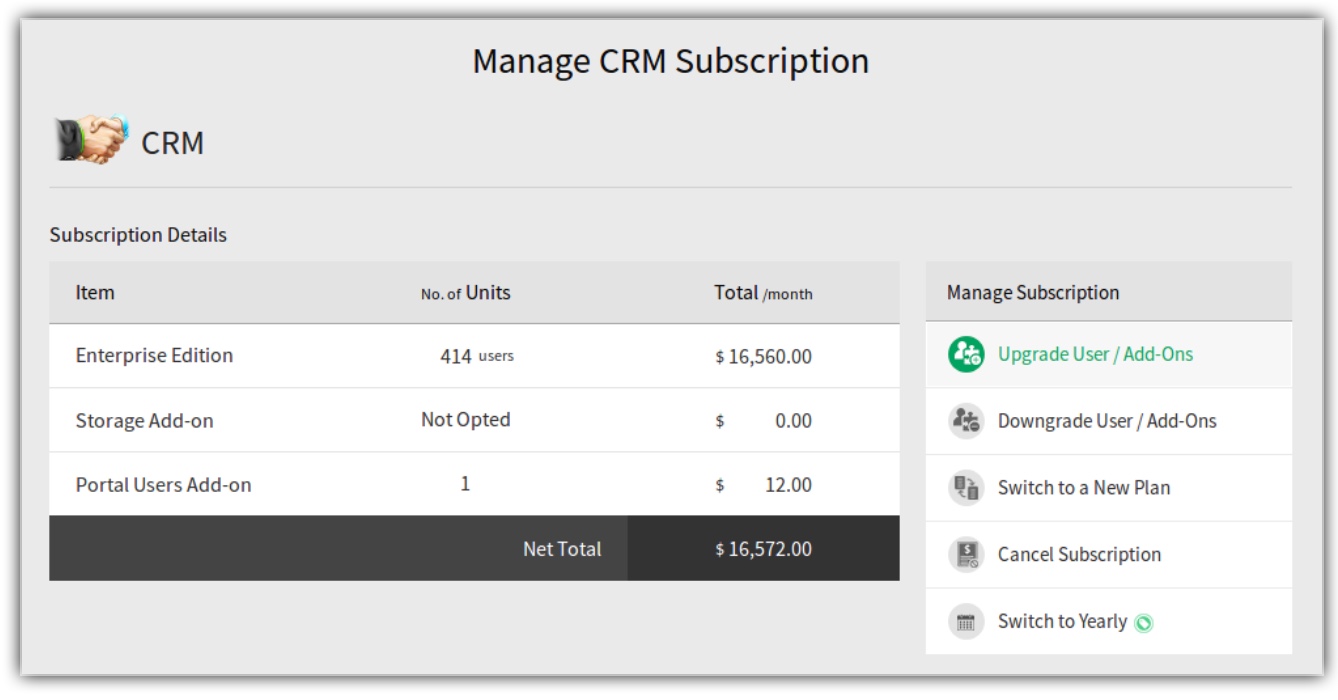
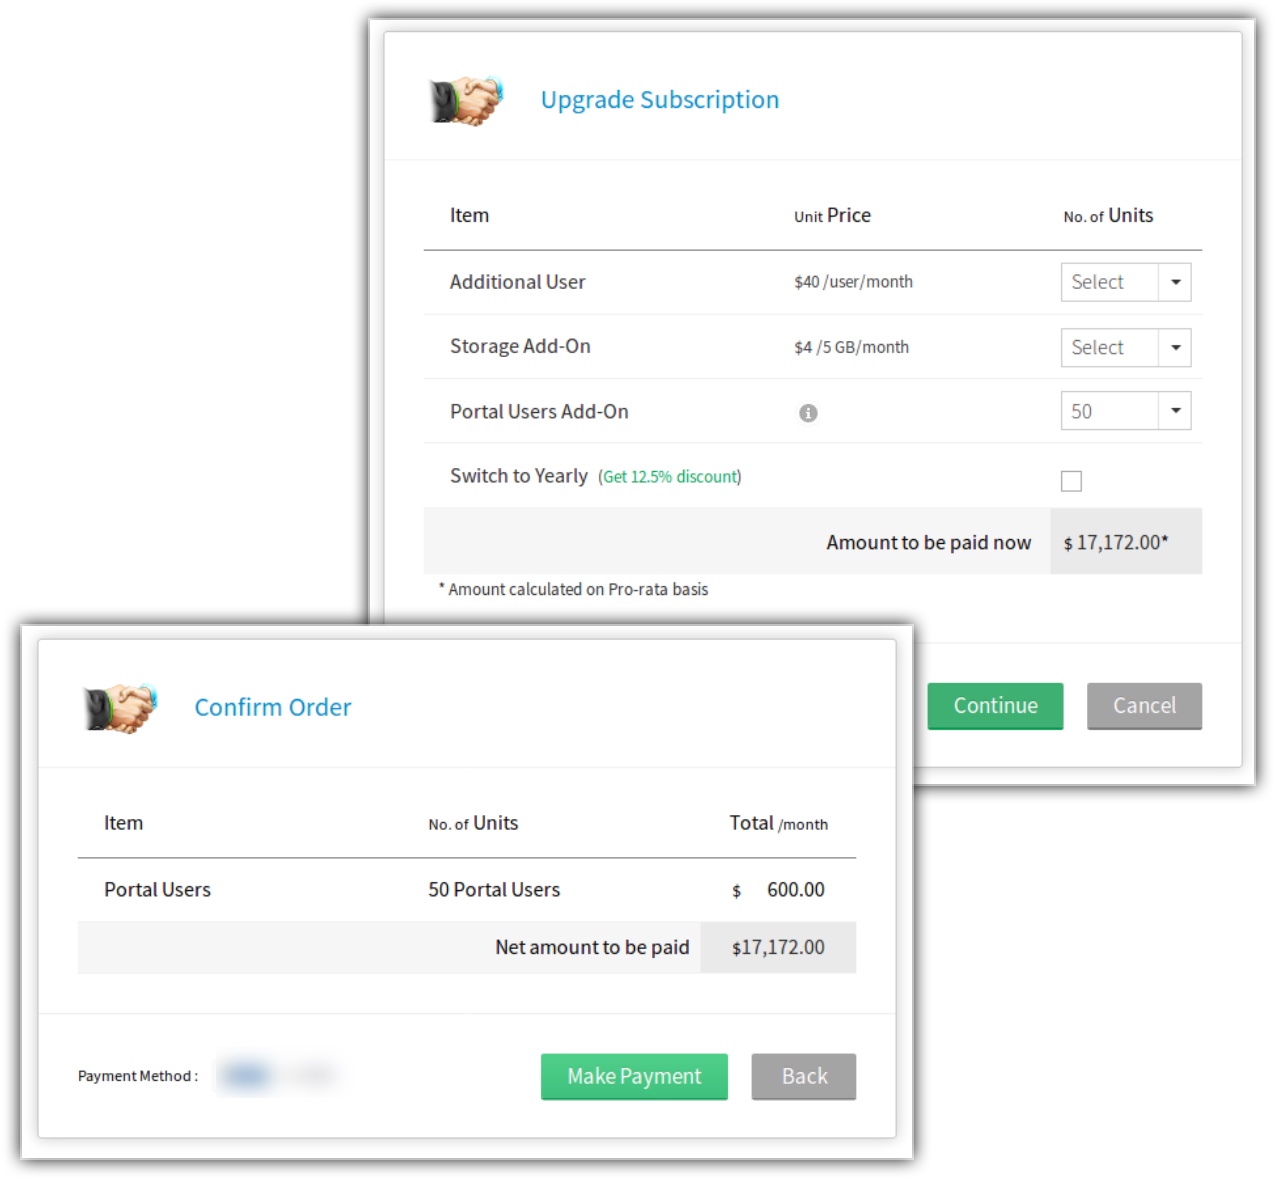
You can add more than one portal user types and additional portal users after making your payment. You can check the payment section by clicking on the Manage Subscription link in your CRM account.


Configuring the portal tab
In this step, you will choose the modules and the specific layouts that the portal user will be able to access and define permissions to either create, edit, view, or delete records. For example, you run a car company and want your clients to enter some information. You can configure a portal exclusively for these clients and give them access to the Leads module. The clients can enter their details in the portal to be added to their CRM record. Configuring the portal tab includes the following steps:
- Choose the module: You can choose to give the customers access to the Leads, Contacts, or custom modules. The customers will be able to view their own details in the module and based on their permissions, they may be able to add and edit records.
- Select the related modules: The modules that have a lead or contact lookup are listed under the related modules. You can choose the list of related modules that you want the customers to be able to access.
- Select the layouts of the related modules: You can choose more than one layout for each related module for the portal users to access.
- Define the module record permission: You can set the permission level for each record in a module. For example, you can allow the clients to view or edit their license number or mailing address, or give a vendor read-only permission to purchase orders.
- Select list view: If you have created a canvas view for any CRM module, you can choose either List view or Canvas view to display a record. List view will be selected by default for all modules. Note that the custom buttons or custom links will not be displayed for the portal users if they are added to the Canvas view.
- Filter By: Select the records that the portal user will view by using the lookup filter. For example, if you have added two lookup fields in the Deals module, you can choose a lookup based on the records that you want the portal user to view. However, the lookup filter will only be available to the existing portal users if they edit the portal configurations.

Note
The portal users can access the following records and perform actions based on the permissions defined for the portal's user type:
- Add or edit record - They can add or edit details only in the records that are created or added by them.
- Other leads/contacts that they create - They can create, edit, and deleted other records as per the permissions defined.
- Other records associated with the leads/contacts (deals, invoices, quotes, etc.) - Records can be cloned.
- In Products - They can view all the records listed in the Products module.
Specifying field permission
The related modules that you selected in the previous step (Portal Tab Configuration) will be listed under the Field Permission section. You can select the fields that you want the portal users to access. You can also mark the fields that you do not want the customer to edit as Read Only. The mandatory fields inside CRM will also be marked as mandatory in the portal.
Related Articles
Setting up Web Forms
Setting up Web Forms Creating a web form involves three steps Building the form - Drag and drop fields to build a form and format it easily with the WYSIWYG editor. Specifying the form details - Add details such as form name, landing page URL ...Creating a Portal
Creating a Portal Create a portal To create a portal Go to Setup > Channels > Portals. In the Portals page, click Get Started Now. Your company's name will appear as the default portal name. Edit the Portal name, if required. Click Configure Now. The ...Working with Portal
Working with Portal Sending Invite to Users Changing Portal User Type Converting a Lead to Contact Deleting a Portal User Type Deactivating a Portal User Sending Invite to Users Once you have created the portal, you can start inviting the ...Data Privacy for Portal Users
Data Privacy for Portal Users Data Processing Basis As a Data Controller, to be GDPR compliant you need to process data based on one of the lawful bases. Based on your business requirement and discretion you can choose a processing basis from the ...Setting Case Escalation Rules
Setting Case Escalation Rules Part 1 - Enable the Escalation Scheduler Part 2 - Create Case Escalation Rule Part 3 - Create Rule Entry Part 4 - Define Escalation Action for the Rule Entry It may so happen that sometimes, a case is not attended by ...