Android Specific Features
Android Specific Features
Supported CRM Modules
From the CRM app on your Android device, you can access the CRM modules and work on them right from your phone. This ensures that you can access the important data even when not connected to the network. The following modules are supported in the CRM for Android:
| Leads | Contacts | Accounts | Deals | Tasks |
| Events | Calls | Products | Cases | Solutions |
| Vendors | Price Books | Quotes | Sales Orders | Purchase Orders |
| Invoices | All custom modules (Max: 15 custom modules) | Dashboards | - | - |

- The modules supported in the mobile app, will be based on the edition of the CRM that you are subscribed to.
Widgets
Imagine how handy it would be to see all the day's activities on your home screen at a glance. Widgets provide miniature application views that can be embedded on your home screen and give you periodic updates on your activities, tasks, etc. They also act as shortcuts for the app.
To add a Widget to the Home screen
- Touch and hold an open space on your Home screen.
- Tap Widgets
 .
. - Touch and hold the CRM widget.
- Drag and drop the widget anywhere you like on your home screen.

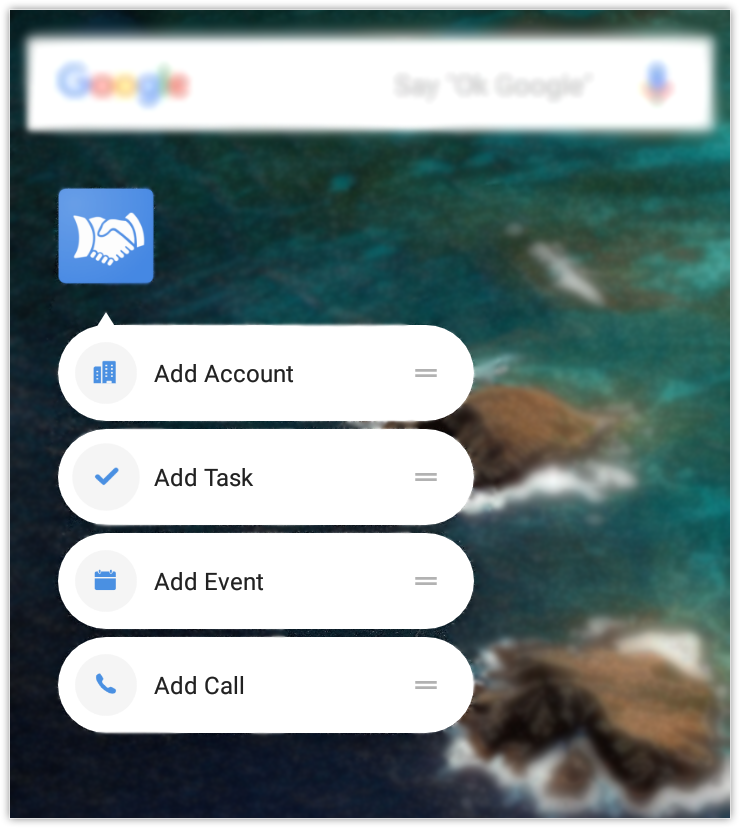
App Shortcuts
Adding a Task, Event, or Account via the CRM mobile app involves series of steps. You can bypass these steps using app shortcuts, which let you access certain portions of an app directly from your home screen. Press and hold the CRM app icon to view the available shortcuts. You can also customise these shortcuts.
To customise App Shortcuts
- Go to Settings > App Shortcuts.
- Modify the actions as required and tap OK.
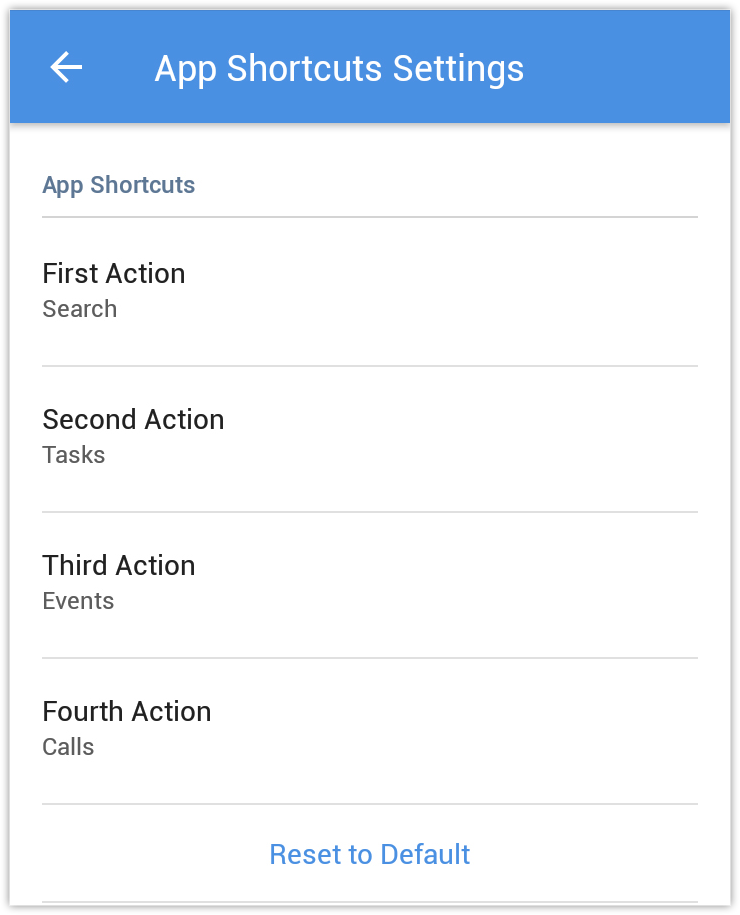
- Tap on Reset to Default to go back to the default settings.
Notification channel Support
Your smartphone probably receives countless app notifications, making it is difficult to spot the important ones, and if you miss a CRM notification, you could lose out on a lead or deal. We use notification channel support to combat this and help you stay in control of what notifications you receive. You can turn off notifications for a certain channel, specify their importance, set your preferred sound for a particular category of notifications, and which notifications should override DND (Do Not Disturb). Prioritise what you need to know and when you need to know it.
To customise Notification
- Go to the CRM app Settings
- Tap Notification Categories under the Notifications section.
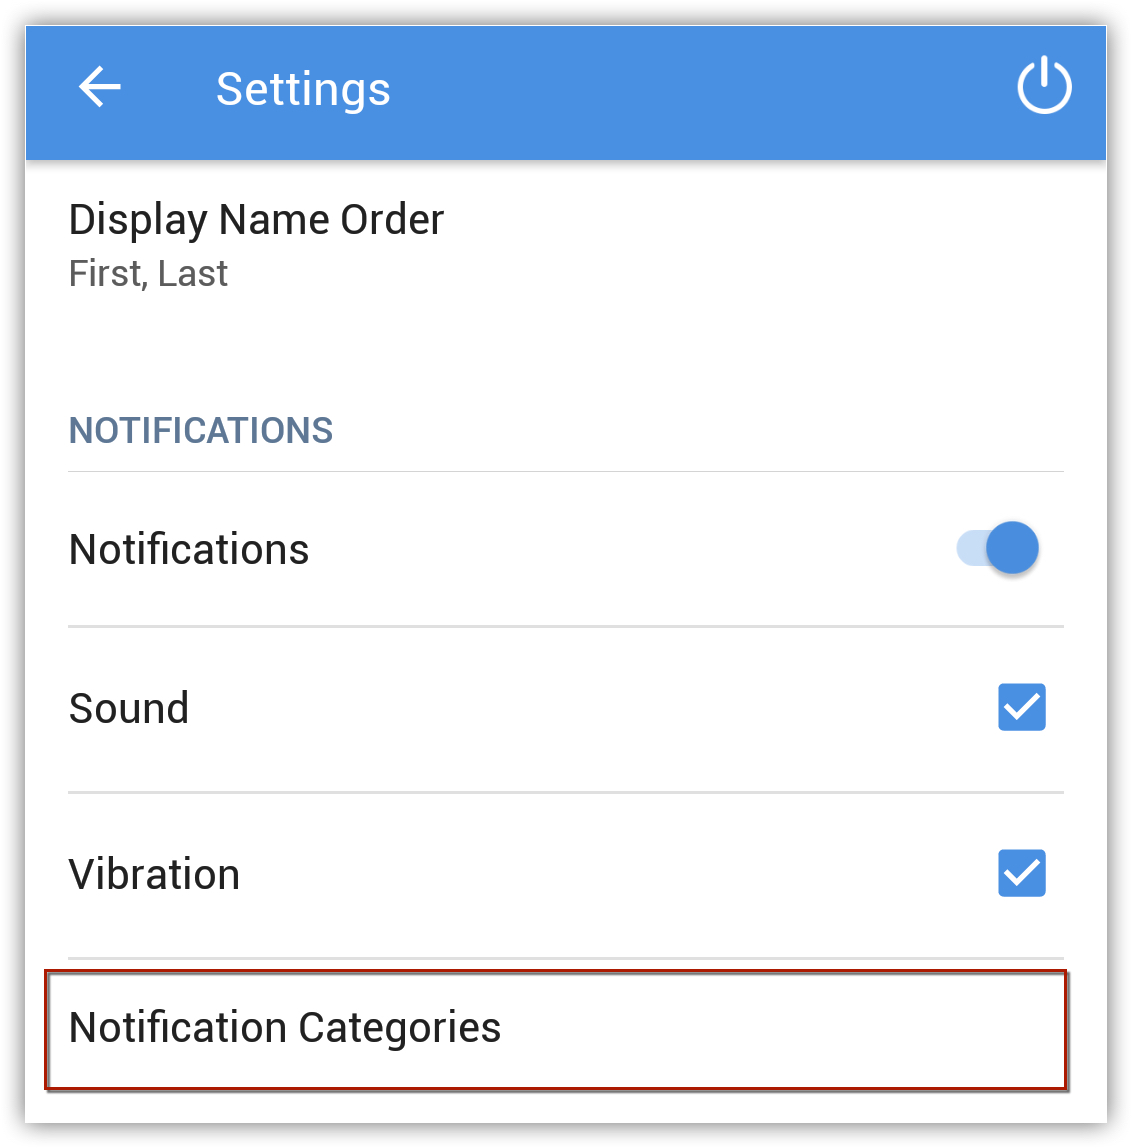
- Customise the settings based on your choice.

- Notification Channel is supported for the Android Version 8.0 and higher.
Shortcut Pinning
Imagine you have a major lead and hope to convert that lead into a customer. You can pin records (Leads/Contacts) as shortcuts on your home screen to save time spent searching the record list.
To pin a shortcut to the home screen
- Go to the module (Leads/Contacts).
- Select the record you wish to pin to the home screen.
- Tap Menu > Create shortcut.
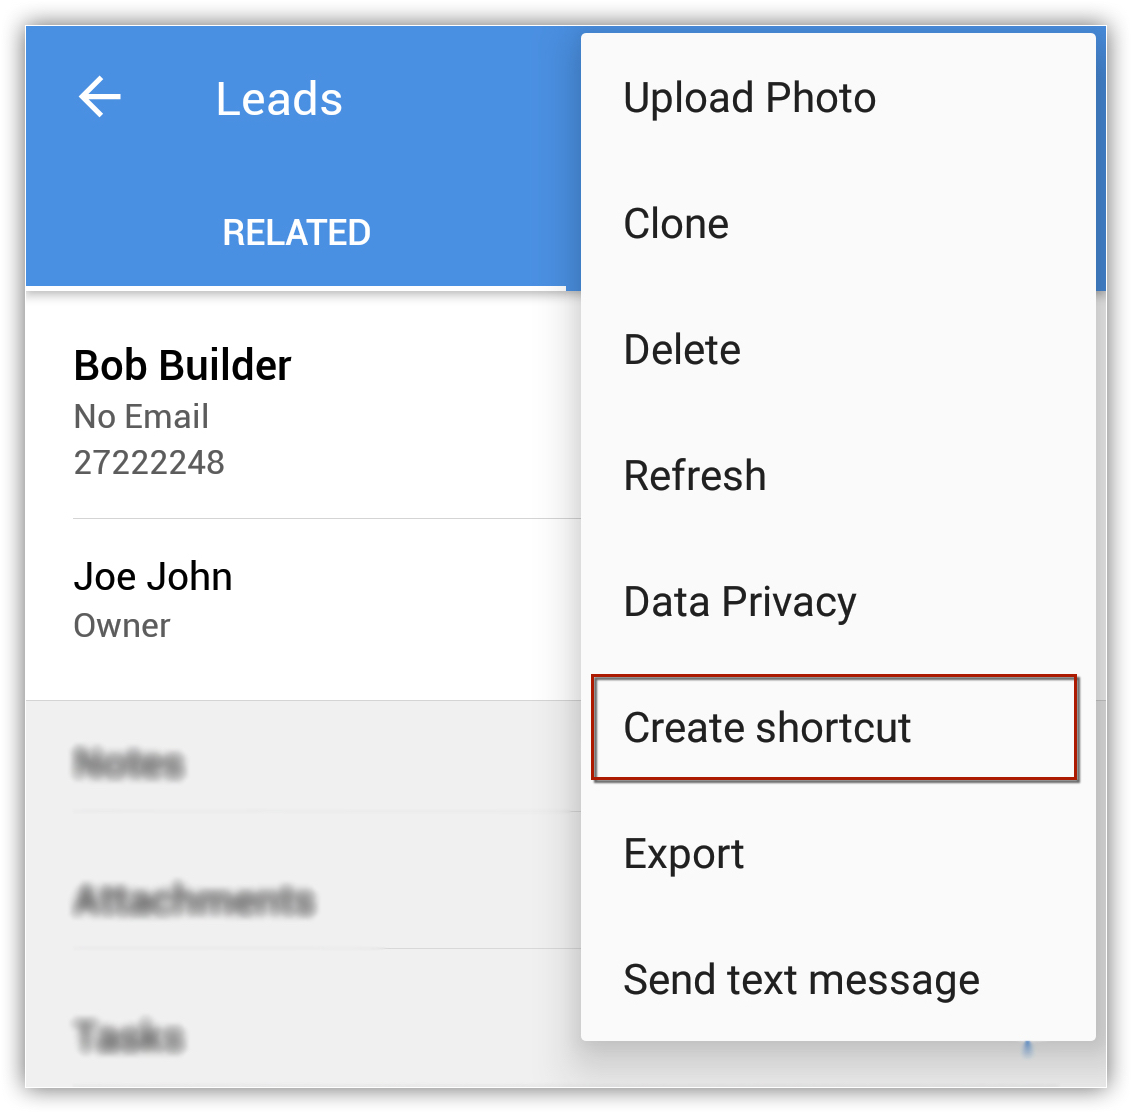
- Shortcut Pinning is supported for the Android Version 8.0 and higher.
Send SMS
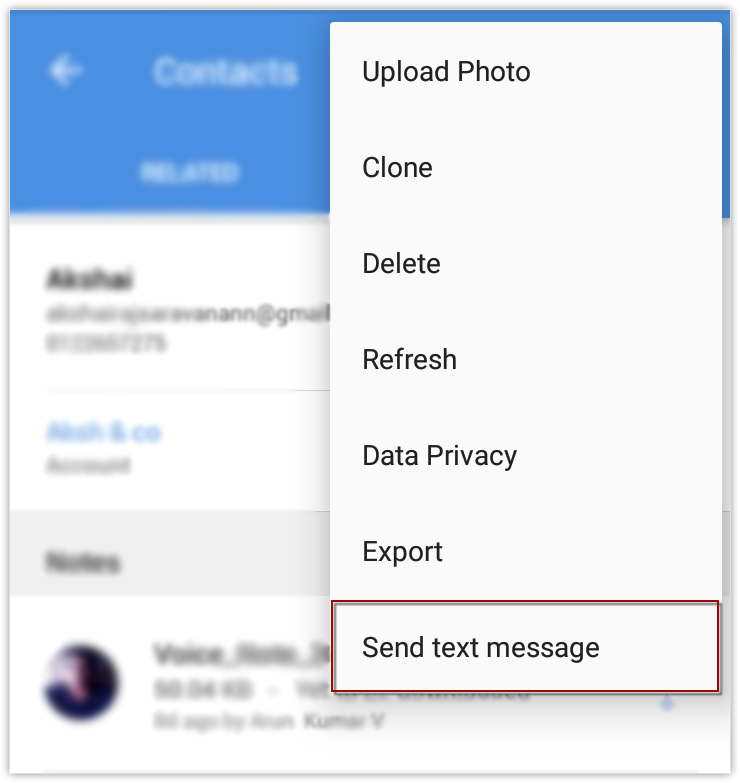
You can send SMS to your Leads/Accounts/Contacts provided their contact number is available.
To send SMS
- Tap the Leads/Accounts/Contacts module.
- Select the record you wish to send an SMS.
- In the Record Details page, tap the
 (More) icon.
 - Tap Send Text Message to compose and send.
Make Calls
You can call your customers by selecting the record you wish to speak with. You can also log the call for future reference.
To make a call
- Go to the module (Leads/Accounts/Contacts etc.).
- Tap a contact to whom you want to make a call.
- In the Record Information page tap the
 (Call) icon.
 - Tap the Phone Number to call the contact.
When the call is completed, you can also log the call and it will be available in the Calls module.
Log calls

- Go to the CRM app and tap Settings.
You will find a list of options under calls.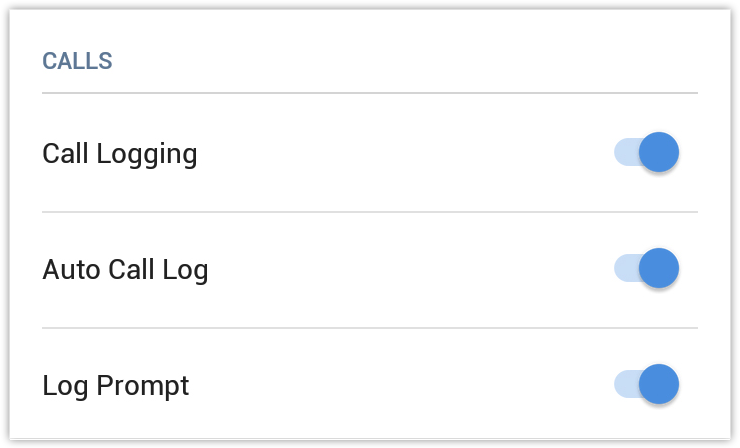
- Call logging - Enabling this option, permits you to log calls.
- Auto Call Log - Enabling this option, allows you to log calls automatically.
- Log Prompt - Enabling this option, prompts you to log a call after completion.
To log an outgoing call
- Place a call.
Once the call is completed you will be prompted to log the call.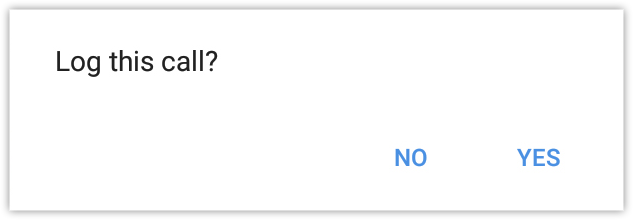
- Tap Yes to log the call.
- In the Call Information page enter the data that is required and tap Save.
To log an incoming call
- Answer the incoming call.
When the call is over, Log this call option will be available (only if the incoming calls phone number is already present in your CRM account). - Tap the tick icon to log the call.
- In the Call Information page enter the data that is required and tap Save.
- Go to the module (Leads, Accounts, Contacts, etc.).
You can also go to the Calls module and add the call details. It will be associated to the record that you select. - Select a record to which you want to schedule a call.
- In the record's Related section, click the Add icon against Calls.

- In the call information page tap on Type > Schedule call.
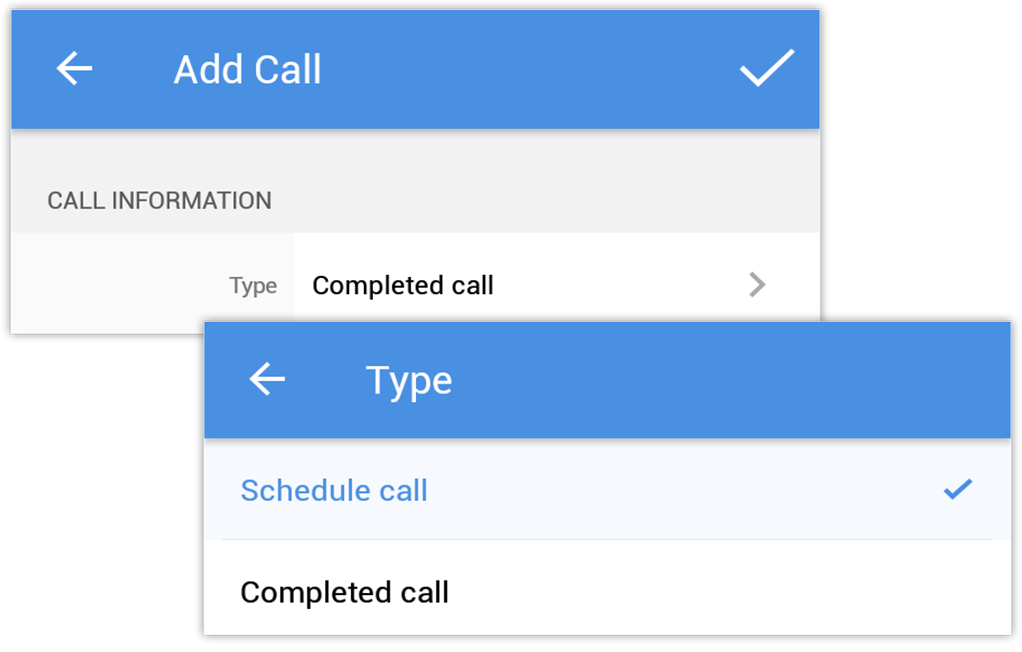
- Specify the required data and tap Save.
View Map
Using Google Maps, you can locate the address of the Leads, Accounts, and Contacts.
To view maps
- Go to the module (Leads, Accounts, Contacts, etc.).
- Tap a record whose address you want to view in Google Maps.
- In the Record Details page, tap the
 (Map) icon.
 - Tap the address location that you want to see (Mailing Address, Billing Address, etc.).
- The selected address will open in Google Maps.
Locate Leads/Contacts/Accounts near you
In case you wish to meet customers near you when you are on a business trip, your mobile CRM app will instantly tell you which contacts are near you and how important they are to your business.
Using Google Maps in your Android device, you can find Leads, Contacts and Accounts a few miles around your current location as well as a custom location.
To locate Leads/Contacts,Accounts near you
- Go to the module (Leads, Accounts, Contacts, etc.).
- Against the selected List View click the
 (Map) icon .
All the Leads/Contacts/Accounts near your location will be pinned on the map. - Add Custom location to view Leads/Contacts/Accounts in and around that particular location.

- The Location Service settings should be switched on to use this feature.
- Only the contacts within the specified radius will be located in the map. The default radius is 10 kilometers for both your current location and custom location. You can change this radius as required.
- There are two colour pins - Red pin
 is for single lead/contact/account and Violet pin
  is for multiple lead/contacts/accounts in the same location.
 - You can tap on the pin for more details on the lead/contact/account.
- When you tap on the pin and then the
 (information) icon, you can view the records details and other options such as Call Lead/Contact/Account, Send Mail, Delete Record, etc. These options will be available based on the details in the record.
Check-in to a location
When you go out with your family to a great restaurant or you are at the movies with your friends, you want to share the news with the world - and so you "check-in" to the location and share it on Facebook or Twitter. Similarly, from the CRM app for Android, you can now check-in to the location when you meet with a client. Sales managers can immediately be notified of the check-in and therefore can keep a track of their sales reps' client appointments.
Check-ins are closely tied to Events. For example, you have an event called "Demo for Product at Kevin's office". When you check-in to a location, say Kevin's office, you can either associate the check-in to the existing event or create an event upon the check-in. The check-in is automatically attached as a note to the event. You can create check-ins only for the Leads, Contacts and Accounts modules. You cannot create a check-in without it being associated to an event.
To Check-in an event
- Go to Leads/Contacts/Accounts modules.
- Tap the
 (Check-in) icon to create a check-in.
 - If there is already an event associated to the contact, the existing event(s) show up.
Select an event. The check-in is associated as a note for the event. - If there is no event, the app prompts you to create a new event for the check-in
Create a new event and associate the check-in to the event.
- When a check-in is made, an update regarding the check-in is posted to Feeds automatically.
Record Voice Notes
You can record your conclusions on a recent demo for a prospect or capture your thoughts about a meeting with a client through Voice Notes. You can associate these audio files with your records and download them whenever you need.
To record Voice Notes
- Go to the Leads, Accounts, Contacts, Potentials, Cases, Vendors, Products or Quotes module.
- Tap a record to which you want to add voice notes.
- Against Notes, tap the Voice Note icon.

- In the Voice Note popup, tap Record to start and stop recording your note.
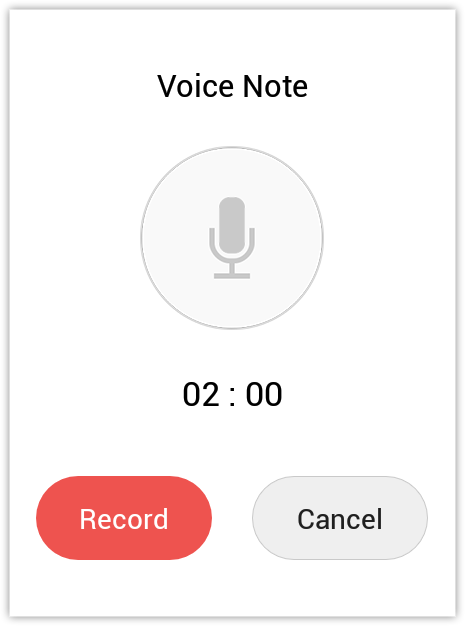
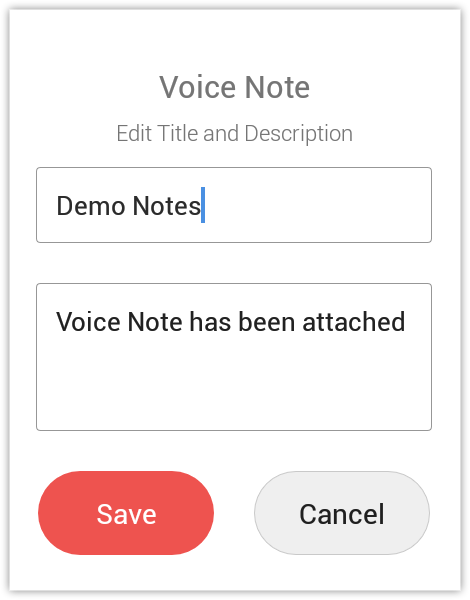
- Once you stop recording, enter the Title and Description for the voice note and Save it to the record.
Privacy and Security
Your customer's information is delicate and it's important to keep it safe from prying eyes. Confidentiality is the key to stay secure in this modern era. The CRM has personalised settings which helps you protect your data by adding a layer of security.
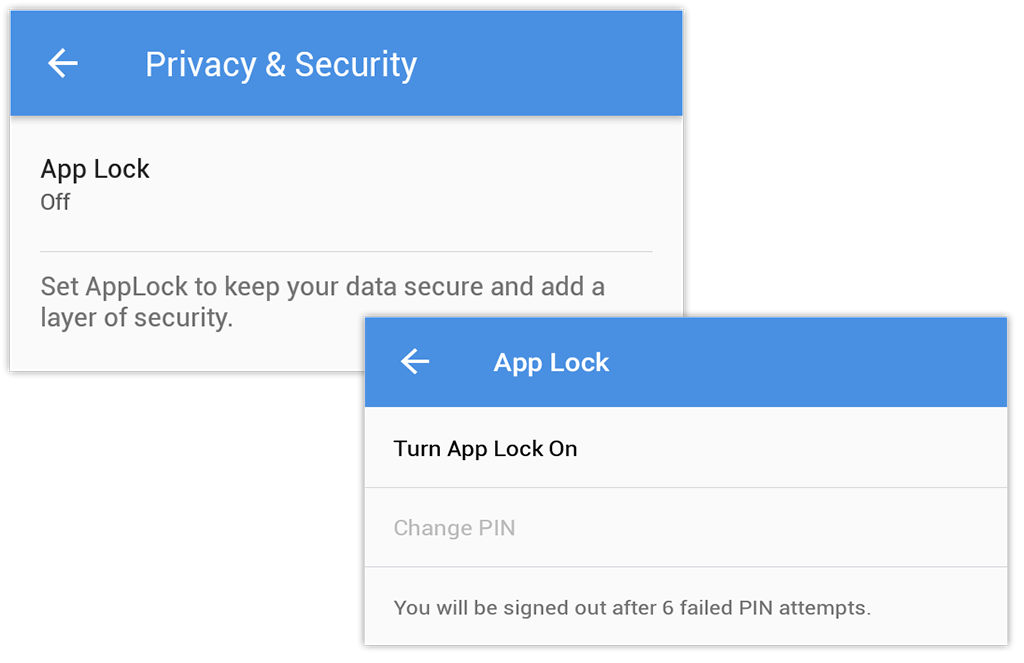
App Lock
When dealing with customer's data, high level of security is required. The CRM provides an App Lock feature to keep the data secure. You can add a Pin or a Fingerprint to prevent unauthorised access.
To activate App Lock
- Go to Settings > Privacy and Security > Turn App Lock On.
- Enter a pin of your choice.
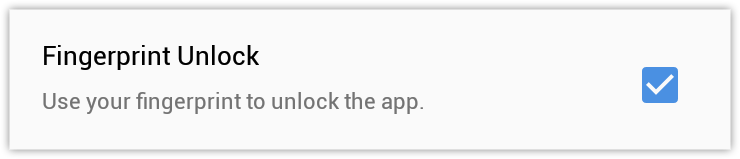
- You can also choose unlock using your fingerprint. Select the Fingerprint Unlock checkbox to enable or disable.
- You will be signed out after 6 failed PIN attempts
Offline Support
The CRM's Mobile Edition lets you work offline to add, modify, or delete records, which will be saved locally and synchronized with your account, when you come back online.
Attach Files
To attach files
- Go to the module (Leads, Accounts, Contacts, etc.).
- In the record's Related section, tap the Add (+) icon against Attachments.
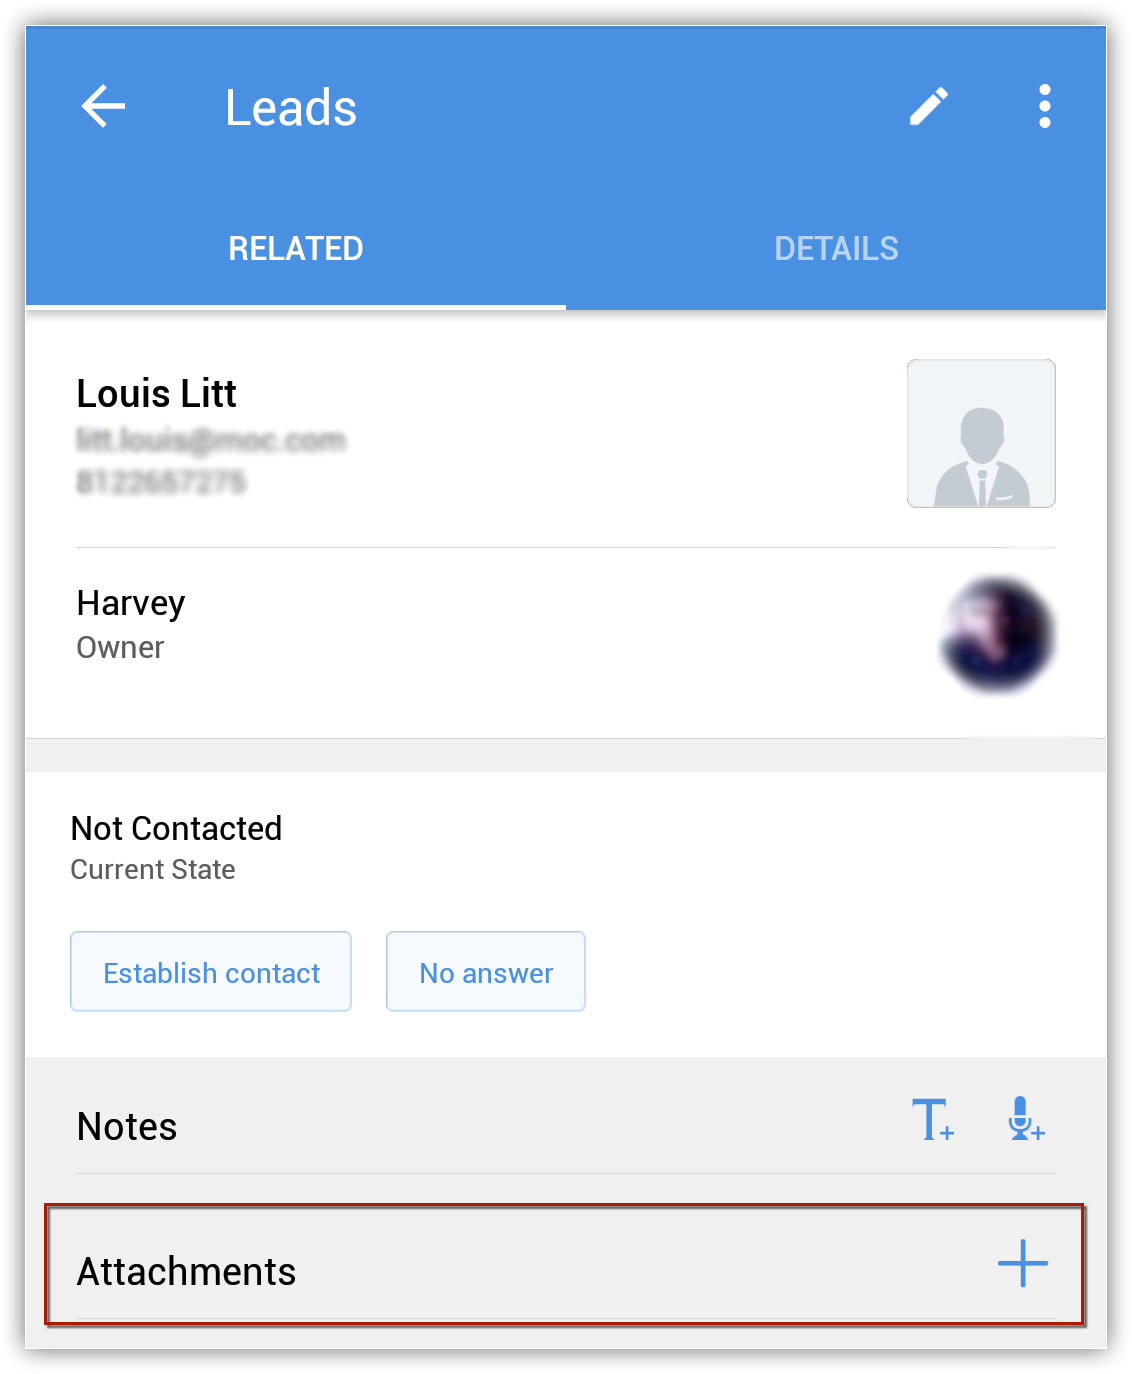
- Select a favorable option under Upload from and attach the required file.
You can also upload from third party apps like Dropbox, Google Drive, etc.
You can attach files of maximum 20 MB.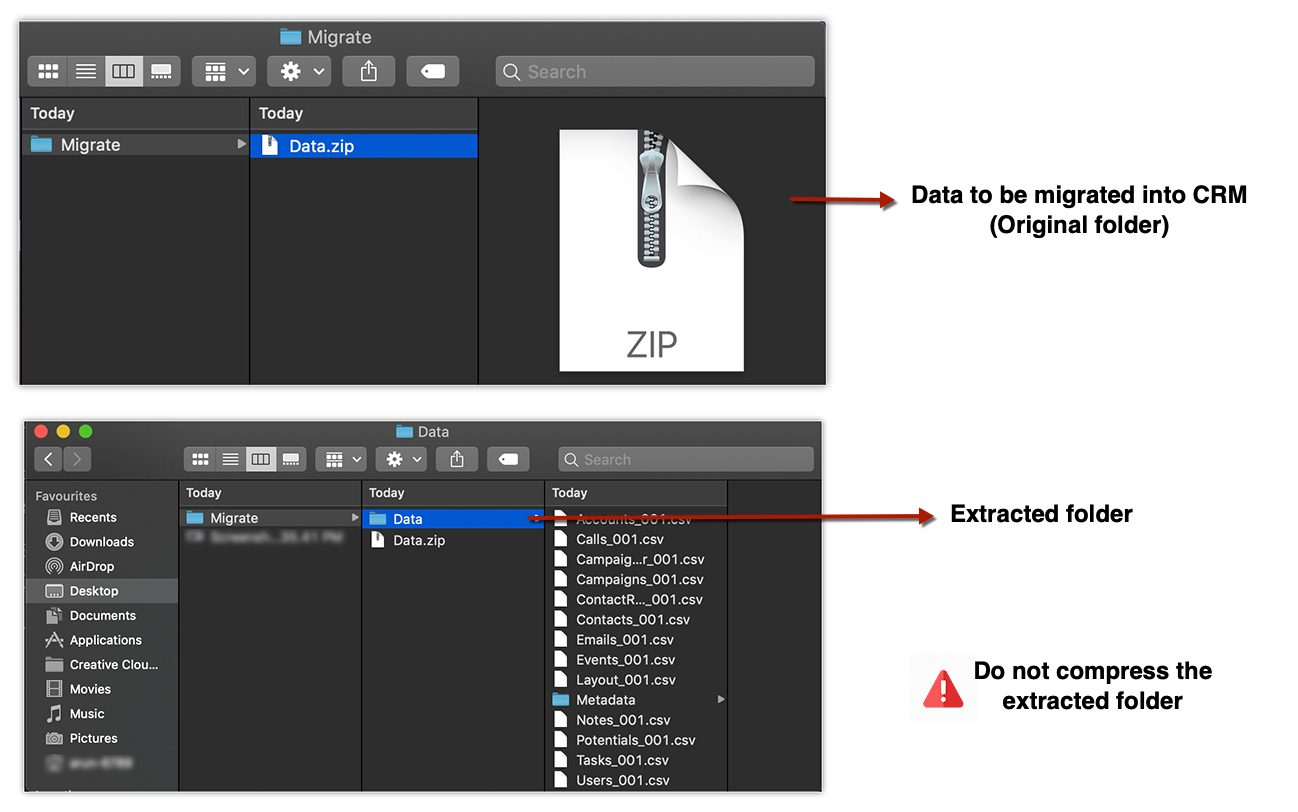
- Tap Upload.
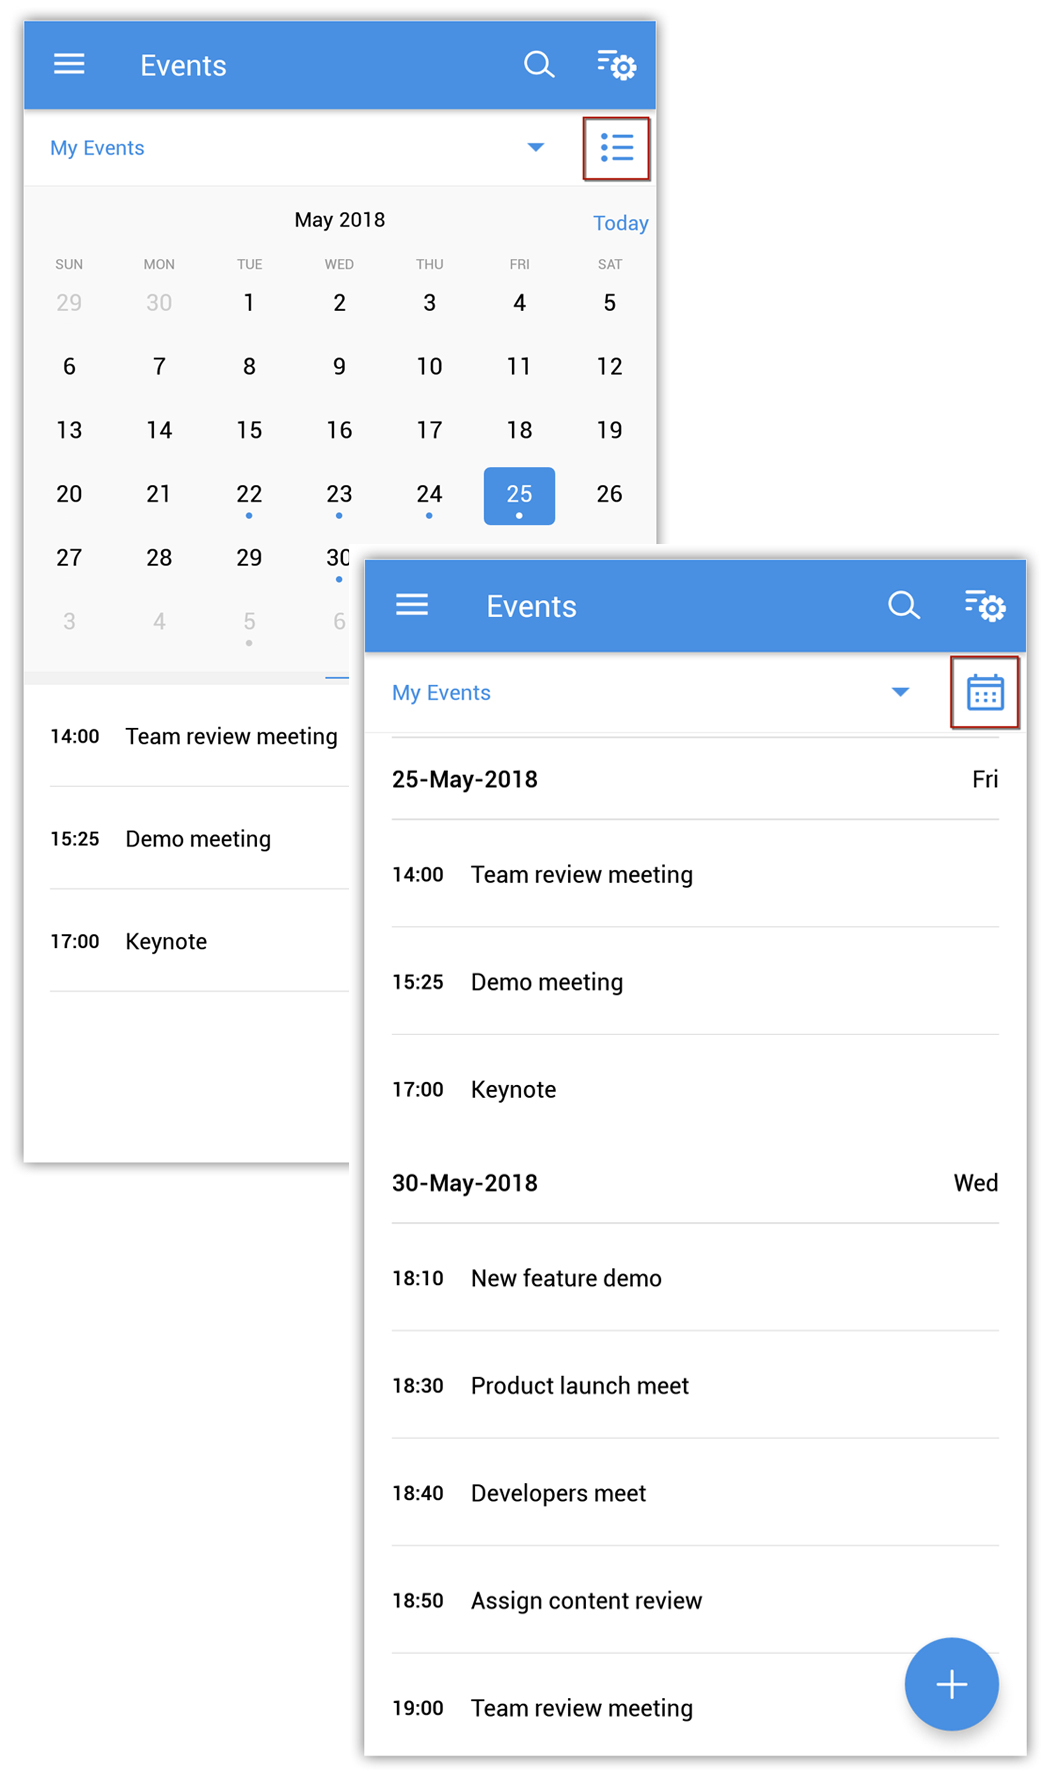
View Events in Month View
For the events, you can view the list of records in two types of views: List view and Month View.
To view events in month view
- Go to Events module.
- In the Record List page, toggle between the Calendar View and List View to see the events.
Associate Related Records
You can create and associate the following to the various records from the Android phone:
In Leads: Notes, Tasks, Attachments, Products, Events, Calls.
In Accounts: Notes, Contacts, Tasks, Attachments, Potentials, Events, Calls, Products, Quotes, Sales Orders, Invoices, Cases.
In Contacts: Notes, Calls, Attachments, Potentials, Tasks, Events, Products, Cases, Quotes, Sales Orders, Purchase Orders, Invoices.
In Potentials: Notes,Tasks, Calls, Attachments, Events, Products, Quotes, Sales Orders, Cases.
In Products: Notes, Price Books, Tasks, Events, Calls, Attachments, Cases, Solutions, Contacts, Leads, Potentials, Accounts.
In Cases: Notes, Tasks, Events, Calls, Attachments.
In Solutions: Notes, Attachments.
In Vendors: Notes, Products, Purchase Orders, Contacts, Tasks, Events, Calls, Attachments.
In Price Books: Notes, Products, Attachments.
In Quotes: Notes, Sales Orders, Tasks, Events, Calls, Attachments.
In Sales Orders: Notes, Invoices, Tasks, Events, Calls, Attachments.
In Purchase Orders: Notes, Tasks, Events, Calls, Attachments.
In Invoices: Notes, Tasks, Events, Calls, Attachments.
To associate related records
- Go to the module (Leads, Accounts, Contacts, etc.).
- Tap a record to which you want to associate events and tasks.
- In the Record Information page, tap the Events,Tasks, Notes etc.
The list of records already associated will be listed.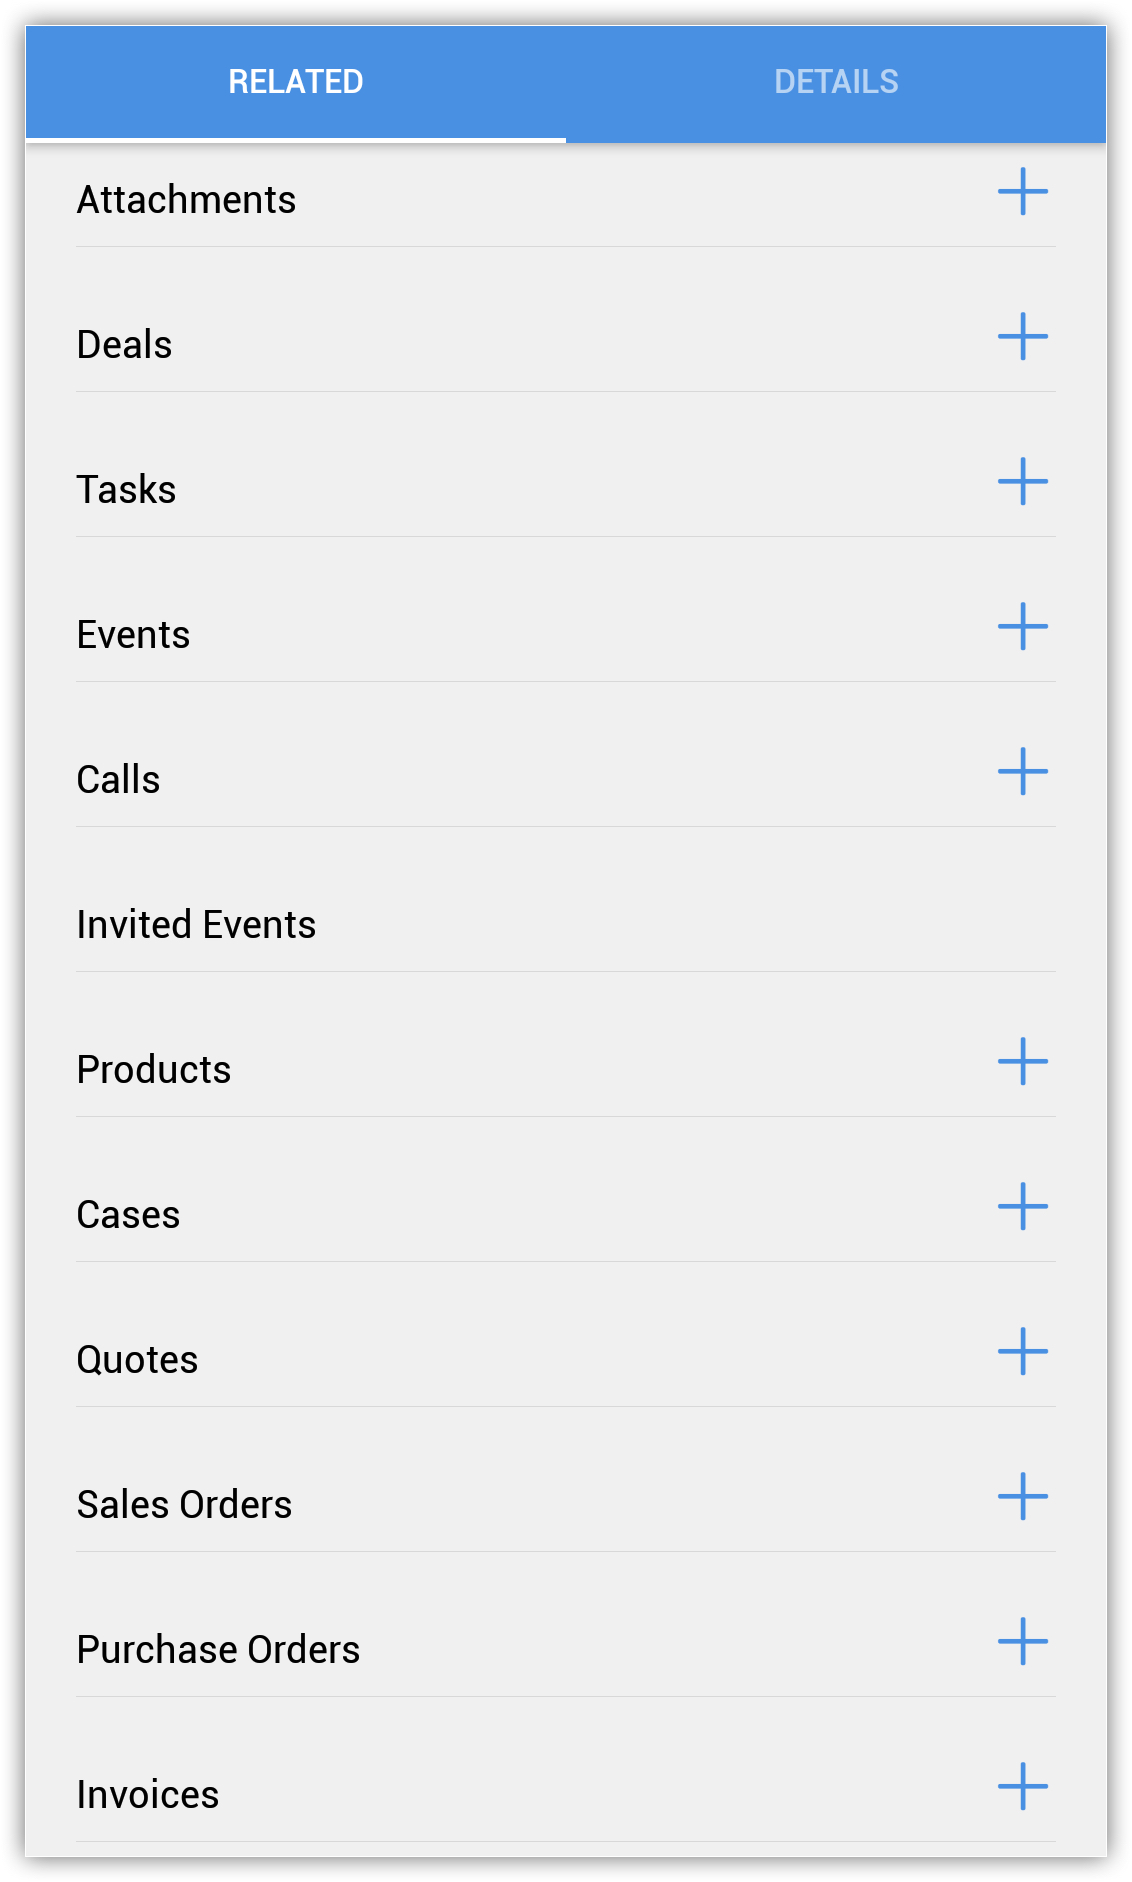
- Tap on the record to view and edit the details.
- Tap the Add Record icon to add a record and save the details.
The event/task will be created and associated to the record.
Search Records
You can search for records to quickly fetch what you are looking for. Each module has a search tool which looks for records in the particular module.
To search records
- You can do a global search from the home screen of the CRM app or perform search specific to the module of your choice.
- Go to the desired module.
- Tap the Search icon.
- Enter the text in the search box.
As you enter, the matching records in the module will be listed.
You can choose between My records or All Records of your choice.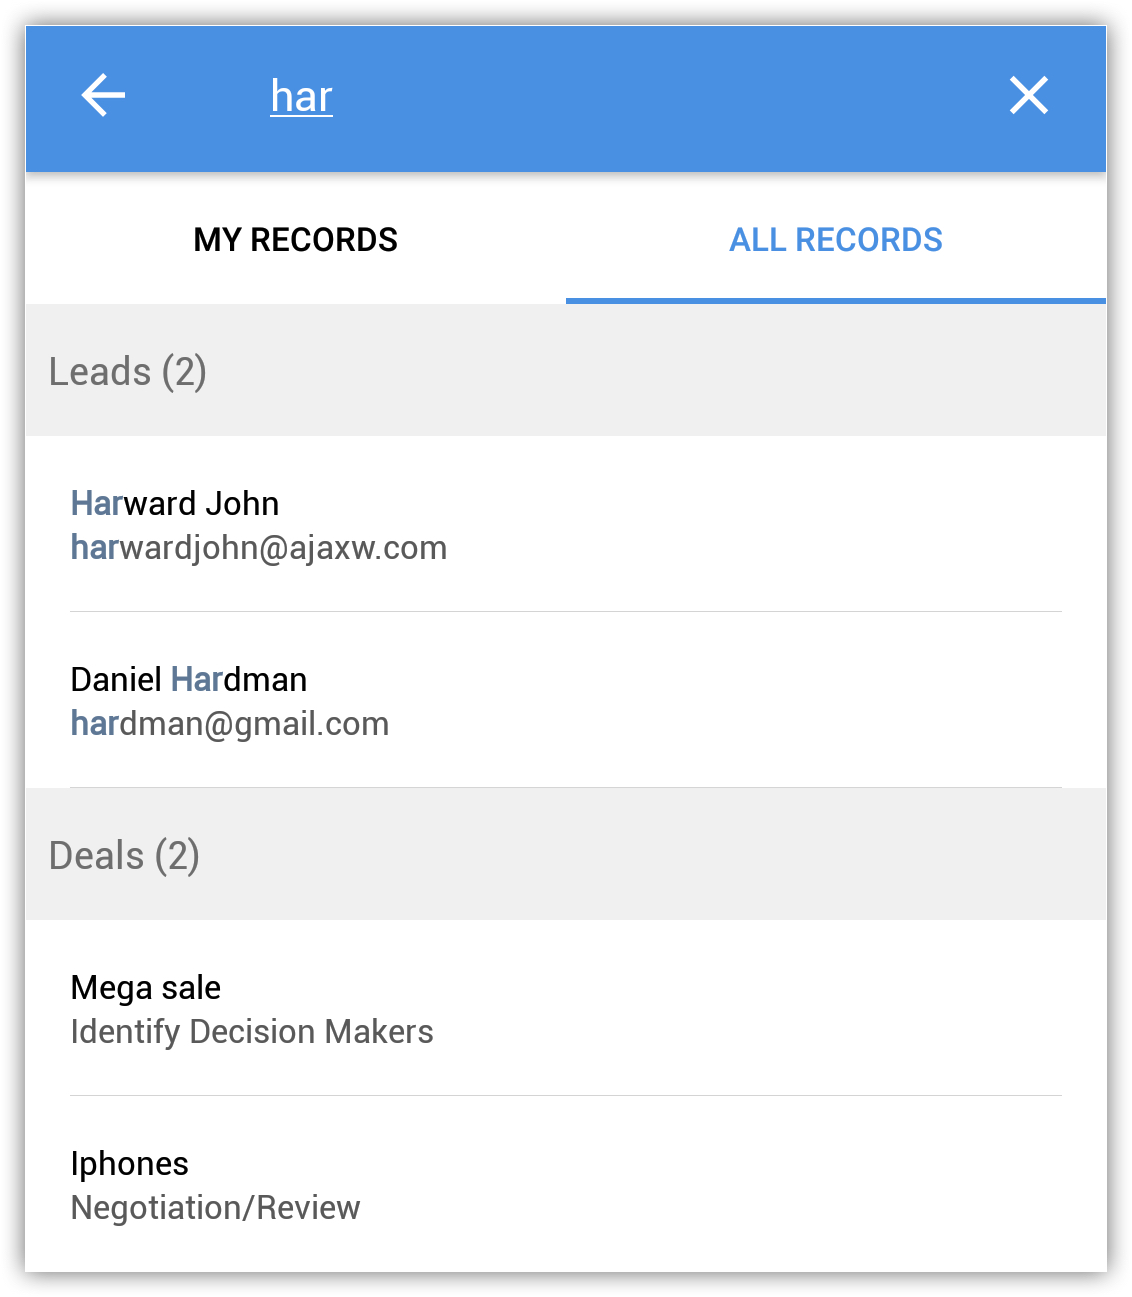
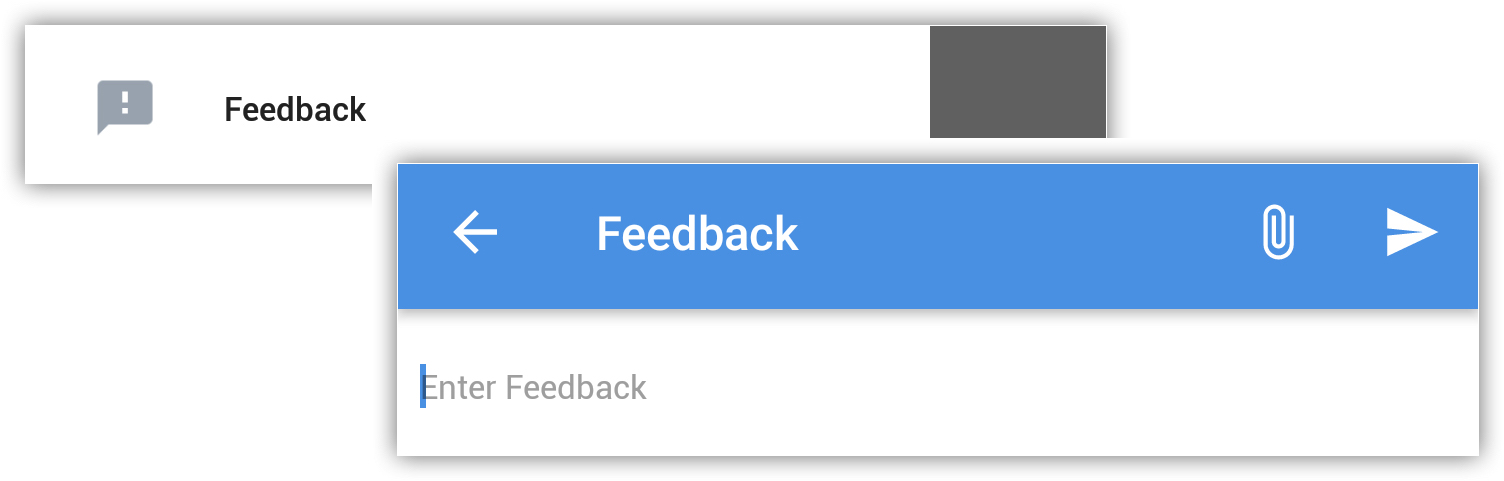
Send Feedback
Feedback can be sent to the Mobile development team, using the feedback form.
To send feedback
- In the CRM Dashboard, tap Feedback.
- Compose the feedback and tap Send.
Troubleshooting and Support
For any troubleshooting and support you can reach the Mobile team using the feedback form (mentioned above) and submit your questions. You can also email your questions to support@constructionbos.com .
Related Articles
CRM for Android Phones
CRM for Android Phones The CRM for Android is a native application that enables you to access and work with your Online CRM data from your Android phones. With this mobile application you can access and manage your Leads, Accounts, Contacts, ...iOS Specific Features
iOS Specific Features Supported CRM Modules From your iPhone, you can access a set of the CRM modules and the data in them which will be stored in a local database on your phone. This ensures that you can access the important data even in the offline ...Configure Settings for the CRM (Android)
Configure Settings for the CRM (Android) Change Theme To change the color theme for your CRM app on your Android device In your CRM app, go to Settings. On the Settings page, under Themes, select the desired colour theme. The chosen theme is applied ...Using the CRM Mobile App for Android
Using the CRM Mobile App for Android Organise CRM Home Screen The CRM for Android welcomes you with an attractive Home screen that displays the Activities for the week. You can prioritise your work for the day based on the activities displayed. You ...Key Features of the CRM app
Key Features of the CRM app The CRM app offers various features which allows you to easily manage your data on the go. Listed here are some of the mobile centric features in the CRM application. Check-in to a location Check-in to a location when you ...