Adding Links
Adding Links
Links help you access third party applications and URLs to acquire the desired information. This is an advanced feature that gives you the advantage of integrating content from other sites also in addition to your CRM account, in just a single click. Here are some examples where custom links in the CRM can be used:
- Accessing Twitter profiles of your contacts: All the contacts in your account can have a field where you specify their Twitter ID. By creating a link for Twitter, you can directly go to the contact's twitter profile in a single click. Example: The link can be: https://twitter.com/#!/${Contacts.Twitter ID}
- View maps: The CRM provides the Locate Map option to view the address of the contacts in Google Maps. If you want to view the address location using some other applications, then you can define a link.

Note
- The administrators and users with 'Customise the CRM' permissions in their profile can define links and set access permissions for them.
- Users will be able to access the links in their account only if they have the permissions to do so. These permissions can be defined under Set Permissions section by users who have 'Customise the CRM' permissions in their profile while creating the links.
Availability
Permission Required
Users with the Customise the CRM permission can access this feature.
Add Links
To add links
- Go to Setup > Customisation > Modules and Fields.
- From the List of Modules, select the required module.
- In the Links and Buttons tab, click Create New Link.
- In the Create New Link page, do the following:
- Enter a name for the link in the Label text box.
The label should not exceed 50 characters. - Enter a Description for the link.
The description should not exceed 250 characters. - Enter the value to construct the URL.
The URL length should not exceed 3000 characters. - In Fields, choose the Module or CRM Variable and corresponding field from the drop-down list.
On selecting, the field will be inserted as part of the URL. - In the Set Permissions section, choose the user profiles that are allowed to access the links. Users who have 'Customise the CRM' permissions in their profile can set access permissions for the links at the time of creating the links. Based on these permissions, other users can use the links.
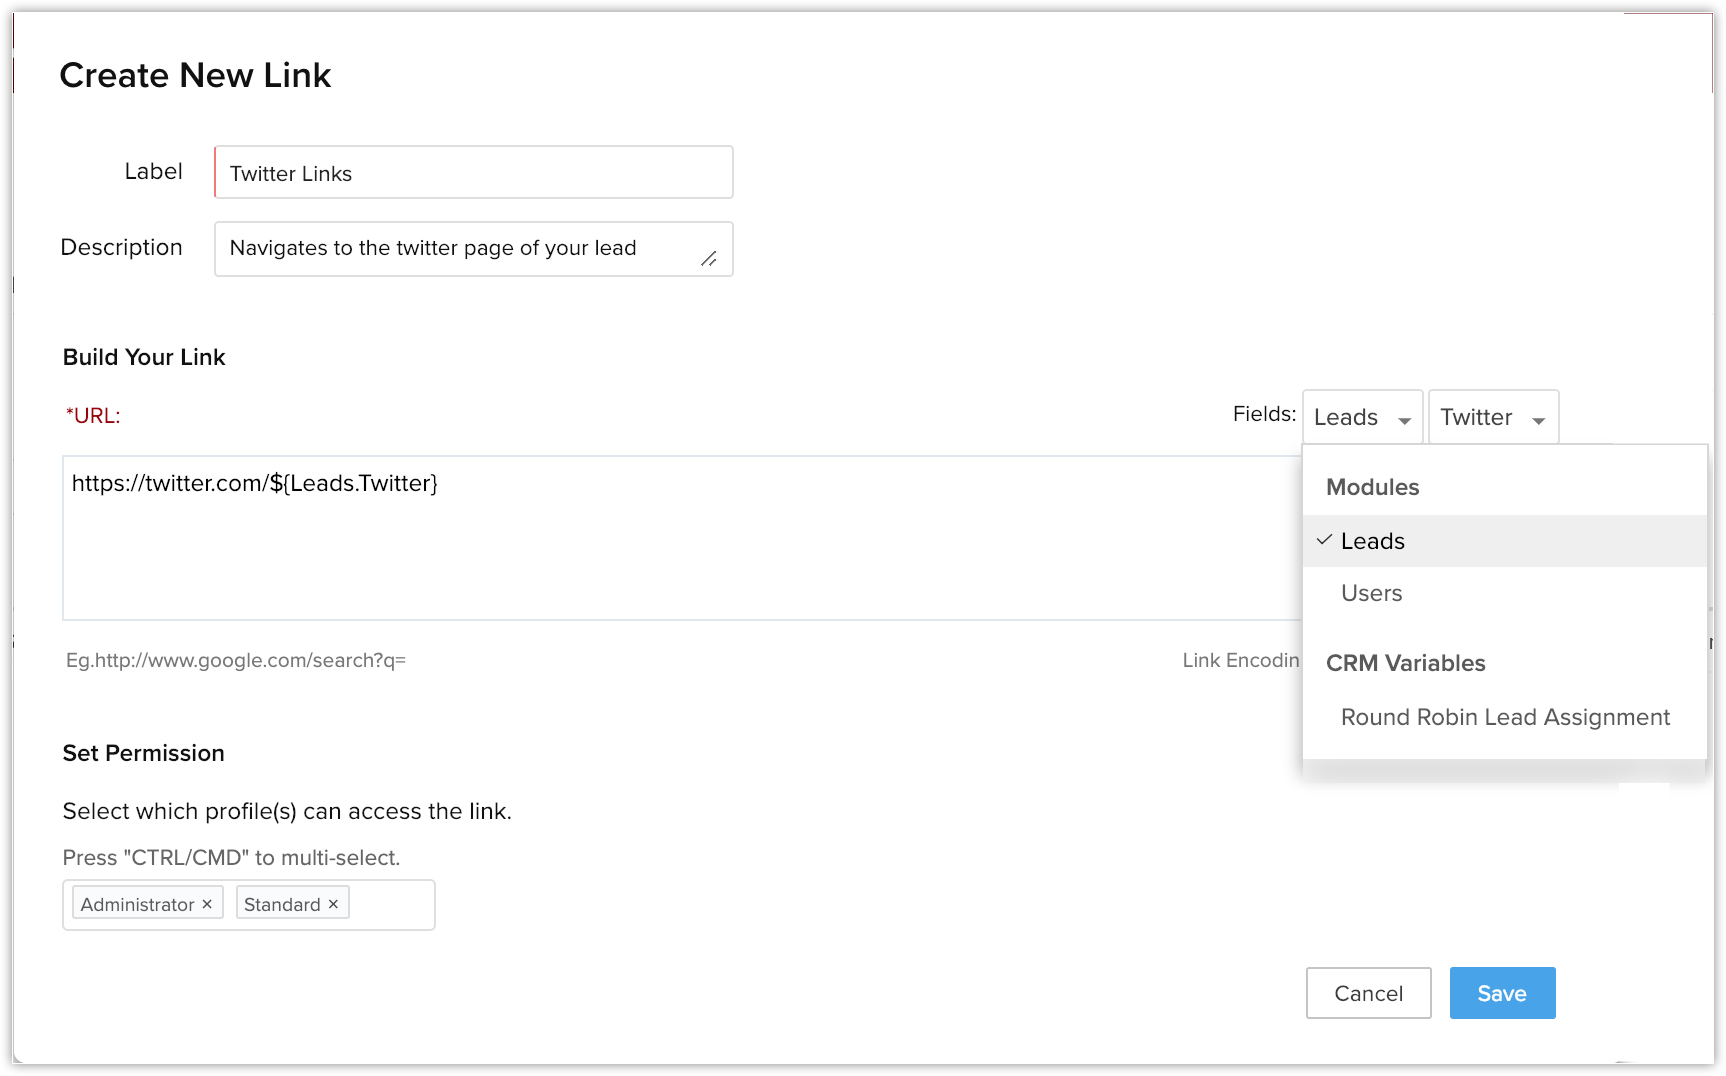
- Click Save.
The link will be available in the Record Details page.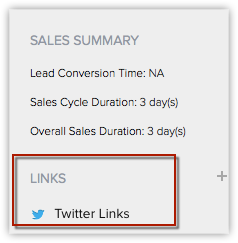
- Enter a name for the link in the Label text box.
Delete Links
You can create a maximum of 10 links per module. The links can be deleted whenever you want. Only users with the Customise the CRM profile permission can delete links.
To delete links
- Go to Setup > Customisation > Modules and Fields.
- Select the required module from the list.
The links of the selected module will be listed under the Links and Buttons tab. - Click
 (the delete icon) corresponding to the link.
Related Articles
Adding Photo
Adding Photo You can add a photo of your contacts and leads in your the CRM account. You can delete the photos whenever required. To add a photo Click the [Module] tab. From the list of records, select a record for which you want to add a photo. In ...Links and Buttons - An Overview
Links and Buttons - An Overview The CRM offers several out-of-the-box features to extend business logic into CRM, which includes the ability to build custom fields, forms, modules, and pages to cater the unique needs of your business. In addition to ...Adding, Modifying, and Re-inviting Users
Adding, Modifying, and Re-inviting Users Adding Users Modify Users Re-Invite Users Users with the Manage Users permission in their profile can access the users' list and perform tasks such as adding users, modifying user details, and viewing the apps ...Adding G Suite Users to the CRM
Adding G Suite Users to the CRM After creating a CRM account, users with the Super Administrator's privilege can add users from G Suite to the CRM. By default, the system will assign the Manager role and Standard User profile to all the users. We ...Adding an Event to a new or existing Opportunity
Adding an Event to a new or existing Opportunity 1) In the Event - click Edit 2) Go to Related to - Click Others 3) Pick Opportunity from the drop down 4) Click the Search function 5) Choose which Opportunity to associate the Event with, or if one ...